
JourneyMap has transformed the way players navigate their Minecraft worlds, offering a wealth of features that enhance exploration. One standout feature is the minimap. It provides crucial information at a glance, helping you find your way and avoid dangers lurking in your surroundings. But what if the default position doesn’t suit your gameplay? Adjusting the minimap’s location can make all the difference in how effectively you engage with your environment.
If you’re wondering how to change minimap position in JourneyMap, you’ve come to the right place! This guide will walk you through every step needed to customize your view for an optimal gaming experience. Whether you’re looking for functionality or aesthetics, mastering this adjustment can elevate your journey through Minecraft like never before. Let’s dive into it!
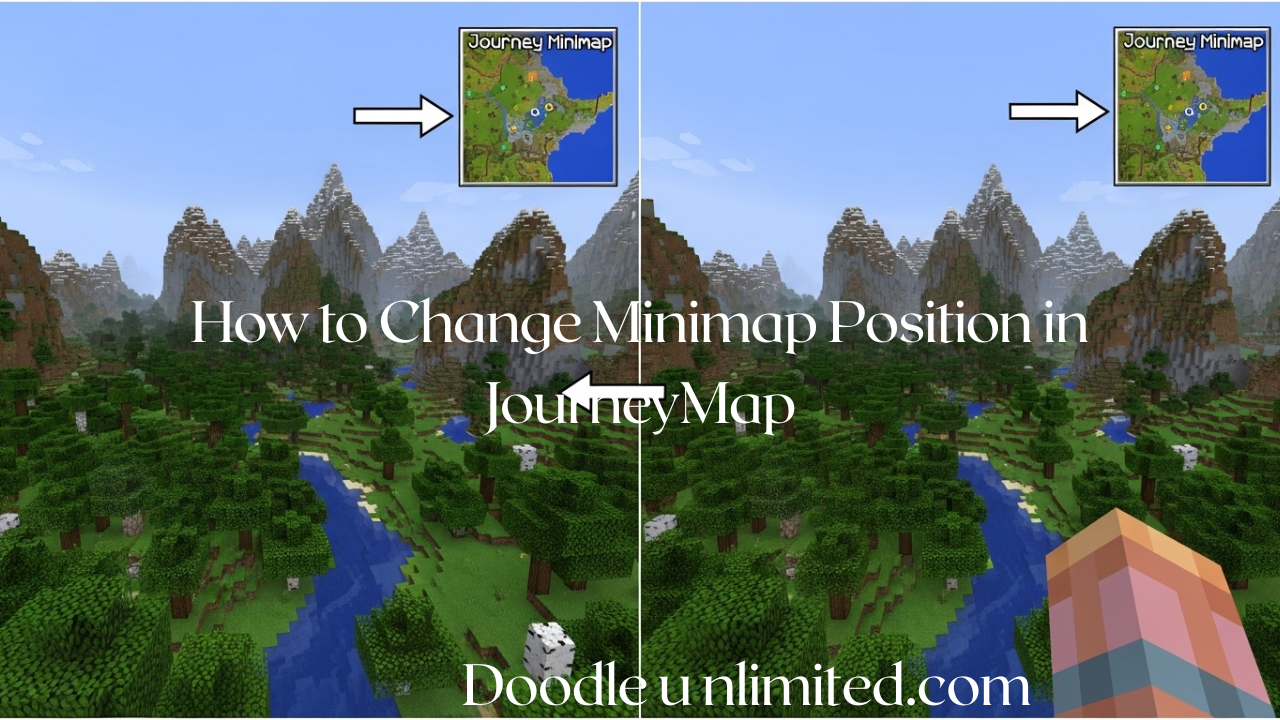
How to Change Minimap Position in JourneyMap
Changing the minimap position in JourneyMap is a straightforward process. Start by opening your Minecraft game with JourneyMap installed. Press the “M” key to access the map options menu, where you can find various settings tailored for customization.
Once you’re in the settings, look for the “Minimap” tab. Here, you’ll see an option labeled “Position.” Click on it to select your preferred location on the screen—top left, bottom right, or anywhere else that suits your gameplay style. Adjusting this setting will enhance your navigation experience and keep critical information easily accessible during exploration.
Introduction to JourneyMap
JourneyMap is a popular Minecraft mod that enhances the gaming experience by providing real-time mapping capabilities. It allows players to track their exploration, mark waypoints, and view biomes with ease.
With its intuitive interface, JourneyMap can be customized to fit your preferences and playstyle. Whether you’re an adventurer seeking hidden treasures or a builder planning intricate structures, this tool offers essential features that elevate gameplay significantly.
Key Takeaways
JourneyMap offers players a highly customizable minimap experience. Understanding how to change the minimap position can significantly enhance your gameplay. It allows you to place the map in a spot that suits your preferences and makes navigation easier.
Minimaps are not just decorative; they are essential tools for exploring and understanding game environments. Customizing them improves visibility and accessibility, ultimately enhancing your overall gaming experience. Knowing these key points will set you on the right path to mastering JourneyMap’s features effectively.
The Importance of Minimaps in Gaming
Minimaps play a crucial role in enhancing the gaming experience. They provide players with a quick overview of their surroundings, helping navigate complex terrains and locate important objectives. Whether you’re exploring vast landscapes or engaging in intense battles, minimaps keep you informed without detracting from gameplay.
Additionally, minimaps foster strategic planning. Players can coordinate movements with teammates and anticipate enemy actions by visualizing key locations on the map. This element of awareness is vital for success in competitive scenarios where every decision counts and timing is everything.
Step-by-Step Guide to Changing Minimap Position in JourneyMap
To change the minimap position in JourneyMap, first, launch your game and ensure JourneyMap is installed. Open the map by pressing ‘M’ or using your designated key. Once the map appears, navigate to the settings icon within it.
In the settings menu, look for a section labeled “Minimap.” Here, you can drag and drop the minimap to your preferred location on-screen. Adjust its size if needed by modifying scale options. Don’t forget to save any changes before exiting this menu so that they take effect during gameplay.
Tips for Customizing Your Minimap
Customizing your minimap enhances your gaming experience significantly. Start by exploring the various settings available in JourneyMap. Adjust colors to match your preferences or improve visibility based on your game environment.
Another effective tip is to experiment with different sizes and shapes of the minimap. A larger map can provide better coverage, while a smaller one can minimize distractions during gameplay. Don’t hesitate to toggle between options until you find what feels best for you!
Benefits of Changing Minimap Position
Changing the minimap position in JourneyMap offers a more personalized gaming experience. By adjusting its location, you can free up valuable screen space and enhance your focus on gameplay. This tailored setup allows for better visibility of critical game elements.
Moreover, choosing an optimal position can improve navigation efficiency. A well-placed minimap helps players track their surroundings without distraction. Whether you’re exploring new territories or engaging in combat, a customized minimap enhances strategic planning and overall enjoyment of the game environment.
Potential Issues and How to Troubleshoot Them
Sometimes, players encounter issues when changing the minimap position in JourneyMap. If your changes don’t seem to take effect, ensure that you’re saving modifications correctly. Restarting the game can also help refresh settings.
Another common problem is the minimap not displaying at all. Check if it’s enabled in the options menu and verify compatibility with other mods you may have installed. Updating JourneyMap or reinstalling it might resolve persistent glitches as well.
Other Features and Functions of JourneyMap
JourneyMap offers a wealth of features that enhance your gaming experience. Beyond the minimap, it includes real-time mapping, allowing players to see their surroundings as they explore new territories. The map can be customized with waypoints and markers for easy navigation.
Players can also access the JourneyMap’s extensive options like night vision mode and an integrated GPS feature. This helps in tracking locations efficiently while wandering through vast worlds. Whether you’re building or exploring, these functions make JourneyMap an invaluable tool for any gamer looking to improve their gameplay.
Conclusion
Changing the minimap position in JourneyMap can significantly enhance your gaming experience. By customizing its location and appearance, players can tailor their interface to suit their needs better. This flexibility allows for improved navigation and a more personalized gameplay environment.
Exploring the various features of JourneyMap empowers gamers to make informed decisions about how they interact with their world. Whether it’s adjusting map size or experimenting with different shapes, every tweak contributes to a richer adventure. Embrace these customization options and elevate your journey through Minecraft like never before.
FAQs
If you’re still curious about how to change minimap position in JourneyMap, you’re not alone. Many players have questions that can enhance their gaming experience. Whether it’s about relocating the minimap or adjusting its settings, finding clear answers can make all the difference.
Some common queries include changing the type of minimap and modifying its shape. Players often seek guidance on zooming features as well. Addressing these concerns can help you tailor your gameplay environment perfectly to suit your style and preferences.
How to change minimap location journeymap?
Changing the minimap location in JourneyMap is a straightforward process. Start by opening your game and navigating to the JourneyMap settings menu. This can usually be accessed through the pause menu or via key bindings you’ve set up.
Once in the settings, look for the “Minimap” section. Here, you’ll find options to adjust its position on your screen. You can drag and drop it to your preferred spot or select from predefined locations like top right or bottom left. Make sure to save any changes before exiting!
How do you change minimap type in Journeymap?
Changing the minimap type in JourneyMap is straightforward. Start by opening the mod’s settings menu, usually accessible through your game controls or by pressing a designated key. Look for an option labeled “Minimap” or something similar.
Once you find it, you’ll see various types of maps available—such as square, round, or different styles tailored to your preferences. Select the one that fits your gaming style best and apply the changes. You’ll notice how this simple switch can enhance your gameplay experience significantly!
How to change minimap shape?
Changing the shape of your minimap in JourneyMap can enhance your gaming experience. To do this, open the JourneyMap settings by pressing “J” on your keyboard. Navigate to the “Minimap Settings,” where you’ll find options for different shapes such as circular or square.
Simply select your preferred shape and apply the changes. The new minimap shape will take effect immediately, giving you a fresh perspective while exploring. This customization lets you tailor your gameplay interface according to what feels best for you, making navigation more intuitive and enjoyable.
How to zoom minimap journeymap?
Zooming the minimap in JourneyMap can enhance your navigation and give you better control over your gaming experience. To adjust the zoom level, open the JourneyMap settings menu by pressing ‘J’ or accessing it through your game options. Look for the “Minimap” section where you’ll find a slider to increase or decrease the zoom level.
You can also use hotkeys for quicker adjustments while playing. Simply press ‘+’ to zoom in and ‘-’ to zoom out directly on your minimap. This flexibility allows you to view larger areas of terrain or focus on specific details as needed.
By mastering these controls, you’re not just adjusting a feature; you’re elevating how effectively you interact with your environment in-game. Whether it’s exploring new territories or tracking important landmarks, knowing how to fine-tune your minimap makes all the difference.