
 By Richard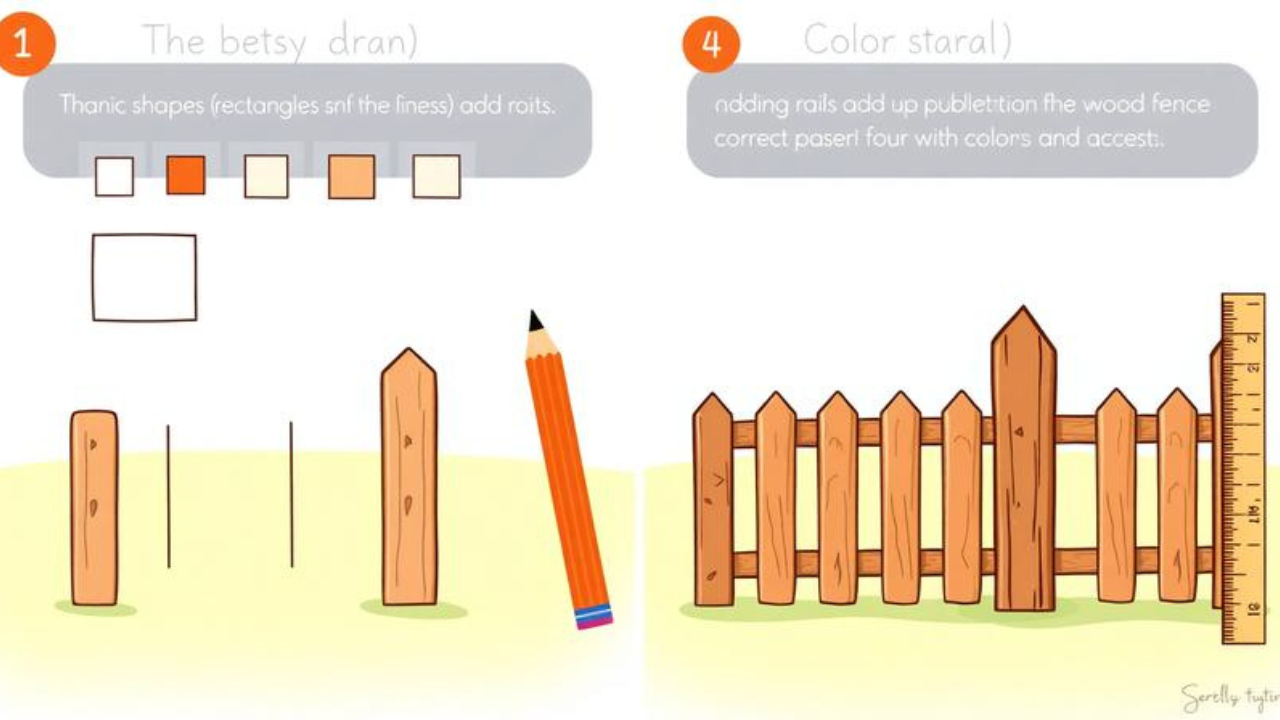
INTRODUCTION
Have you ever stared at a blank page, pencil in hand, wondering how to draw a fence that actually looks good? You’re not alone. Fence drawing easy techniques are something every student can master, and I’m here to show you exactly how.
Fence drawing easy is exactly what it sounds like—creating beautiful fence artwork using simple shapes and straightforward steps. No complicated theories. No confusing jargon. Just practical techniques that work.
In this guide, you’ll discover everything you need to create stunning fence drawings. We’ll cover fence drawing easy step by step methods, explore fence drawing easy with colour techniques, and even tackle how to draw a fence 3D. Whether you want a wooden fence drawing easy approach or something more decorative, I’ve got you covered.
By the end, you’ll be creating fence drawing easy and beautiful artwork that will impress your friends and teachers. Let’s grab your pencil and get started!
TABLE OF CONTENTS
-
What Is Easy Fence Drawing?
-
Why Does Fence Drawing Matter for Students?
-
Types of Fences You Can Draw Easily
-
How to Draw a Fence — Step by Step
-
Common Mistakes to Avoid in Fence Drawing
-
Expert Tips for Stunning Fence Drawings
-
Frequently Asked Questions About Fence Drawing
-
Conclusion: Start Your Fence Drawing Journey Today
What Is Easy Fence Drawing?
Fence drawing easy is a beginner-friendly approach to creating fence artwork using basic shapes and simple techniques. Think of it like building with blocks—you start with simple rectangles and triangles, then combine them into something amazing.
When you practice fence drawing easy, you’re learning to see fences as collections of basic shapes. A wooden picket fence? That’s just rectangles with triangles on top. A metal fence? Thin rectangles with decorative curves. A 3D fence? Same shapes, just drawn with perspective to create depth.
Here’s a real-world example: Imagine you’re drawing a farm scene. The fence doesn’t need to be perfect—it just needs to look like a fence. By breaking it down into simple steps, anyone can do it.
The beauty of fence drawing easy is that you don’t need expensive supplies or natural talent. All you need is paper, a pencil, a ruler, and some patience. That’s it.
Why Does Fence Drawing Matter for Students?
Drawing fences isn’t just fun—it’s incredibly good for your brain development. Here’s why fence drawing easy matters for students:
Develops Fine Motor Skills — Drawing helps train the small muscles in your hands and fingers. Every line you draw strengthens your control and precision.
Builds Spatial Awareness — When you draw fences, you’re learning how objects relate to each other in space. This skill helps in maths, science, and everyday life.
Teaches Proportions — Drawing evenly spaced fence posts teaches you about measurement and proportion. These are skills you’ll use throughout your education.
Boosts Confidence — Every time you complete a drawing, you prove to yourself that you can create something beautiful. That confidence spills over into everything else you do.
Improves Focus — Creating a detailed fence drawing requires concentration. You learn to stick with a task until it’s finished.
Sparks Creativity — Once you master the basics, you can experiment with different styles, colours, and settings. The possibilities are endless!
Types of Fences You Can Draw Easily
There are many different fences you can draw, each with its own style and character. Let’s explore the main types.
Wooden Picket Fence Drawing
Wooden fence drawing easy is the most popular type for beginners. wooden fences have a warm, natural look that’s perfect for gardens and farms.
Key features to draw:
-
Vertical pickets (the upright boards)
-
Pointed or rounded tops
-
Horizontal rails connecting them
-
Wood grain texture
-
Small nails or fasteners
Easy tip: Start with simple rectangles for pickets, then add triangles on top for pointed ends.
Metal Fence Drawing
Metal fences are sleek and strong, often with decorative details.
Key features to draw:
-
Thin vertical bars
-
Decorative scrolls or curls
-
Spear-like pointed tops
-
Horizontal connecting bars
Farm/Ranch Fence Drawing
This easy ranch style fence is perfect for young artists. It typically features:
-
Thick wooden posts
-
Two or three horizontal rails
-
A rustic, weathered look
3D Fence Drawing
How to draw a fence 3D uses perspective to create depth. The trick is using a vanishing point—a dot on the horizon where all lines converge. Posts get smaller as they move toward this point, creating the illusion of distance.
Comparison Table: Fence Types for Easy Drawing
| Fence Type | Difficulty | Best For | Key Shapes |
|---|---|---|---|
| Wooden Picket | Very Easy | Beginners | Rectangles, triangles |
| Farm/Ranch | Easy | Landscape scenes | Thick rectangles, lines |
| Metal | Medium | Practice curves | Thin bars, scrolls |
| 3D Perspective | Medium | Advanced beginners | Shapes with vanishing point |
How to Draw a Fence — Step by Step
Follow these simple steps to create your own fence drawing easy masterpiece. Grab your paper, pencil, and ruler, and let’s go!
Step 1: Draw the Ground Line
Start by drawing a horizontal line across your paper. This is the ground where your fence will stand. Keep it light so you can erase it later if needed.
Step 2: Add the Horizon Line (for 3D Effect)
If you want to try how to draw a fence 3D, draw a second horizontal line above the ground. Place a small dot in the centre—this is your vanishing point.
Step 3: Draw the First Fence Post
Draw a tall rectangle near the left side of your paper. Use your ruler to keep the lines straight. For a wooden fence, make it wider. For a metal fence, make it thinner.
Step 4: Add the Remaining Posts
Draw additional posts evenly spaced across your paper. For a fence drawing easy approach, make them all the same size. For 3D, make posts smaller as they move toward the vanishing point.
Step 5: Connect the Posts with Rails
Draw horizontal lines connecting the tops and bottoms of your posts. These are the rails that hold the fence together. For wooden fences, you might have two or three rails.
Step 6: Add Pickets (for Wooden Fences)
Between each post, draw vertical rectangles—these are the pickets. Space them evenly. For pointed pickets, add a triangle on top of each one.
Step 7: Add Details and Texture
Now it’s time to make your drawing special:
-
Wood grain: Draw light curved lines on each picket
-
Nails: Add small circles where pickets meet rails
-
Shadows: Shade the side of each picket away from the light
Step 8: Colour Your Fence
For fence drawing easy with colour, use:
-
Brown shades for wooden fences
-
Gray or white for metal fences
-
Green for grass underneath
-
Blue for the sky above
Common Mistakes to Avoid in Fence Drawing
Even experienced artists make mistakes. Here are common pitfalls in fence drawing easy and how to avoid them.
Uneven Spacing — Posts and pickets that are randomly spaced look messy. The fix: Use your ruler to measure and mark equal distances before drawing.
Crooked Lines — Wobbly posts and rails ruin an otherwise great drawing. The fix: Always use a ruler for straight lines. There’s no shame in using tools!
Forgetting the Background — A fence floating in empty space looks unfinished. The fix: Add grass, sky, trees, or a house behind your fence.
Too Much Detail Too Soon — Trying to add wood grain and shadows before the basic shape is right leads to frustration. The fix: Get the simple shapes perfect first, then add details.
Ignoring Perspective — Flat fences without depth look boring. The fix: Try how to draw a fence 3D by using a vanishing point. Even a little depth makes a big difference.
Expert Tips for Stunning Fence Drawings
Ready to take your fence drawing easy skills to the next level? Try these expert tips:
1. Use a ruler for everything — Straight lines make your fence look professional and neat.
2. Start with light pencil lines — Begin with faint lines so you can easily adjust proportions before committing.
3. Practice perspective — Draw fences that recede into the distance using a vanishing point.
4. Add a gate — A gate with a latch makes your fence drawing more interesting and tells a story.
5. Experiment with colours — Try different wood finishes: light pine, dark walnut, or even painted fences.
6. Include nature — Add flowers, vines, or a bird sitting on the fence.
7. Keep practising — The more fences you draw, the better you’ll get. Try drawing fences from photos or real life.
Frequently Asked Questions About Fence Drawing
1. What is the easiest fence to draw?
The easiest fence to draw is a simple wooden picket fence. Start with a horizontal ground line, draw vertical rectangles for pickets, add triangles on top for points, and connect them with horizontal rails. This fence drawing easy technique uses only basic shapes—rectangles and triangles—making it perfect for beginners and young students.
2. How do you draw a fence for beginners?
For beginners, start by drawing a horizontal line for the ground. Then draw evenly spaced vertical lines for posts. Connect them with horizontal lines for rails. Add details like wood grain or shadows last. Use a ruler to keep lines straight. Remember: simple shapes first, details second!
3. Can you draw a 3D fence?
Yes! To draw a 3D fence, you need a horizon line and a vanishing point. Draw the nearest post full size, then make each subsequent post smaller as it approaches the vanishing point. The rails should angle toward the vanishing point. This creates the illusion of depth and makes your fence look three-dimensional.
Conclusion: Start Your Fence Drawing Journey Today
Fence drawing easy is more than just a fun activity—it’s a gateway to creativity, confidence, and skill development. You’ve learned that drawing fences is simple when you break it down into basic shapes and follow clear steps.
Remember the three most important points from this guide:
-
Start simple — Begin with basic shapes and gradually add details.
-
Use tools — A ruler and pencil are your best friends for straight lines.
-
Practice different styles — Try wooden, metal, and 3D fences to become a well-rounded artist.
Now it’s your turn! Grab your paper and pencil and try the step-by-step guide right now. Share your finished fence drawing with friends and family—they’ll be amazed at what you’ve created.
What kind of fence will you draw first? A wooden picket fence, a farm fence, or maybe a 3D fence that looks like it’s stretching into the distance? Drop a comment below and let us know!