
Sketchnoting a meeting is not about drawing well. It is about catching the few things that matter (decisions, owners and next steps) in a way you can read at a glance a week later.
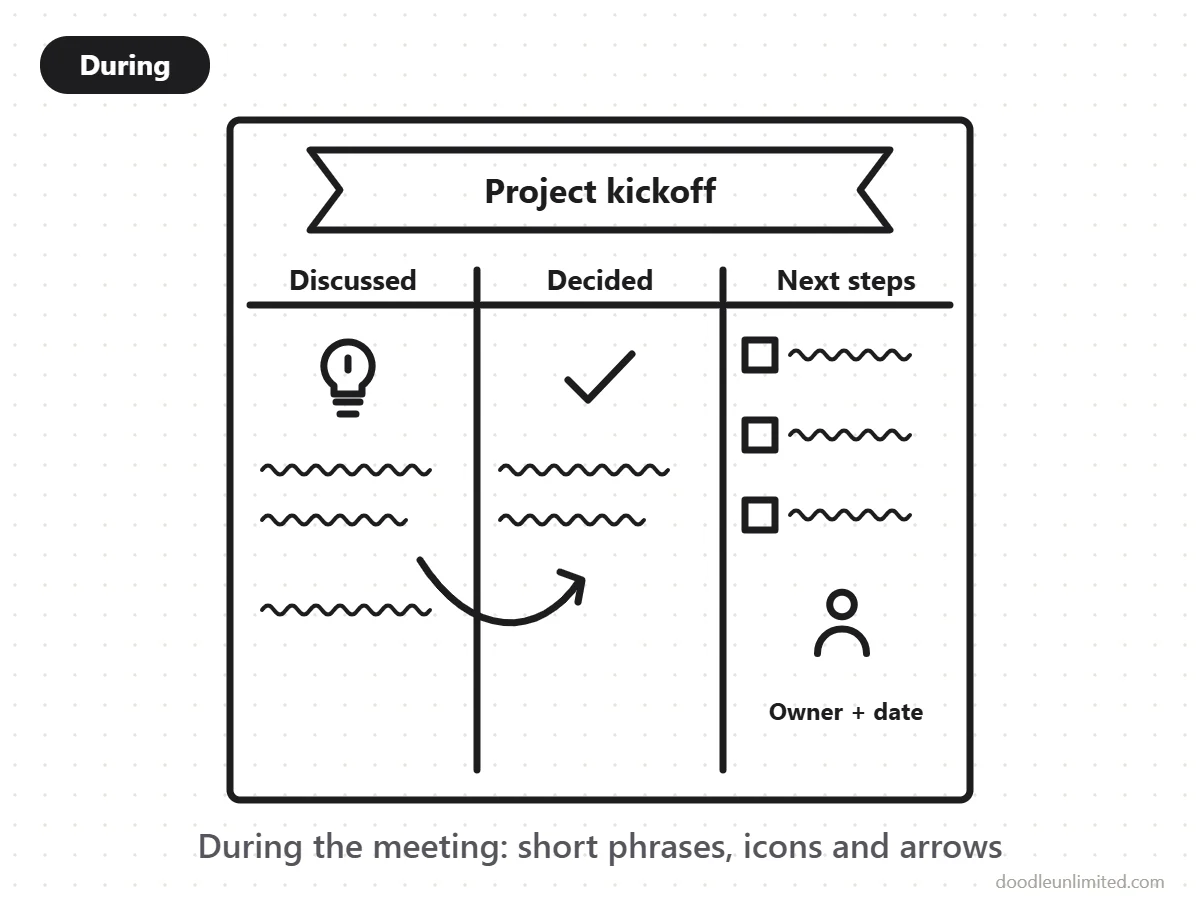
Before the meeting: set up the page
Draw a title banner
Write the meeting name and date in a simple banner at the top. It takes 30 seconds and makes the page easy to find later.
Pick a layout
For most meetings a three-column layout works: Discussed, Decided, Next steps. See sketchnote layouts for other options.
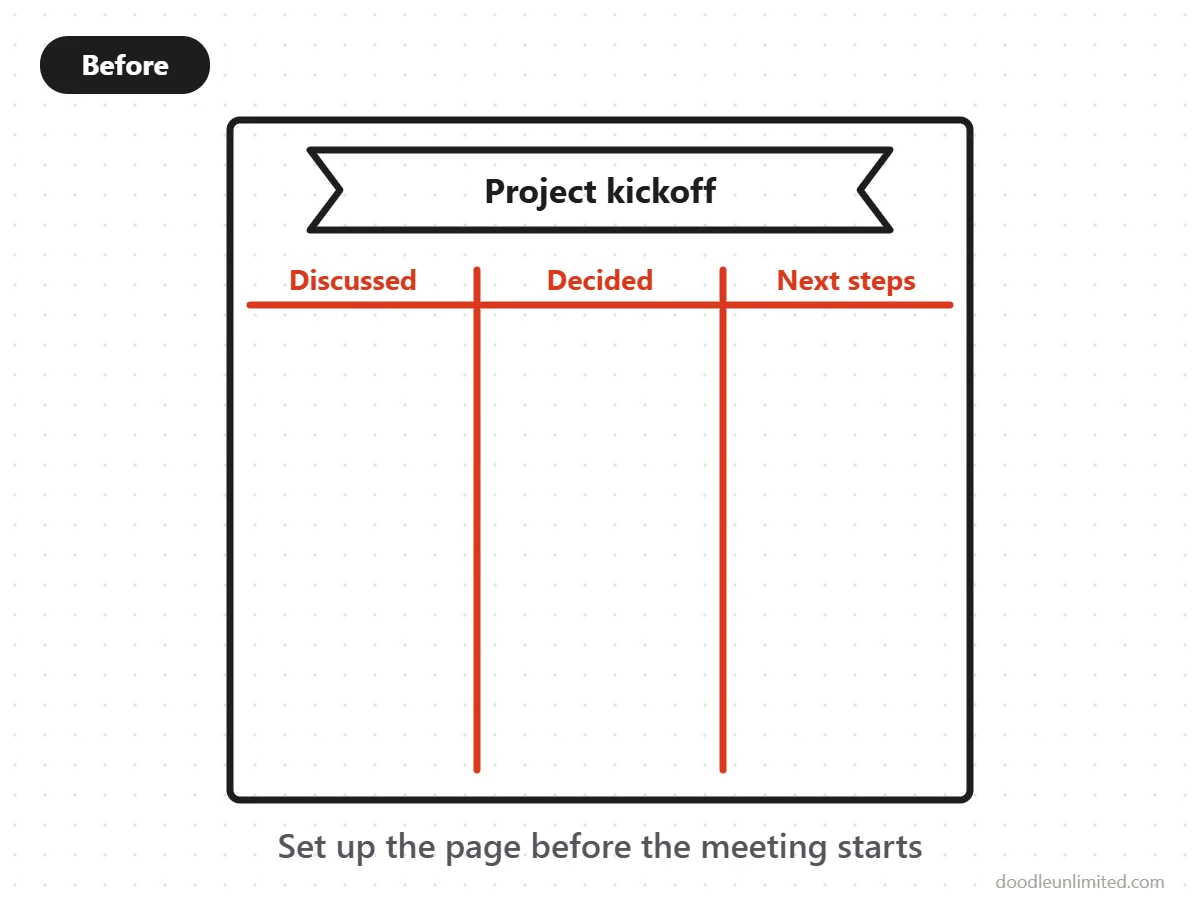
During the meeting: capture, don’t decorate
Write short phrases, not sentences
Three to five words per idea. Put a small box around anything that sounds like a decision.
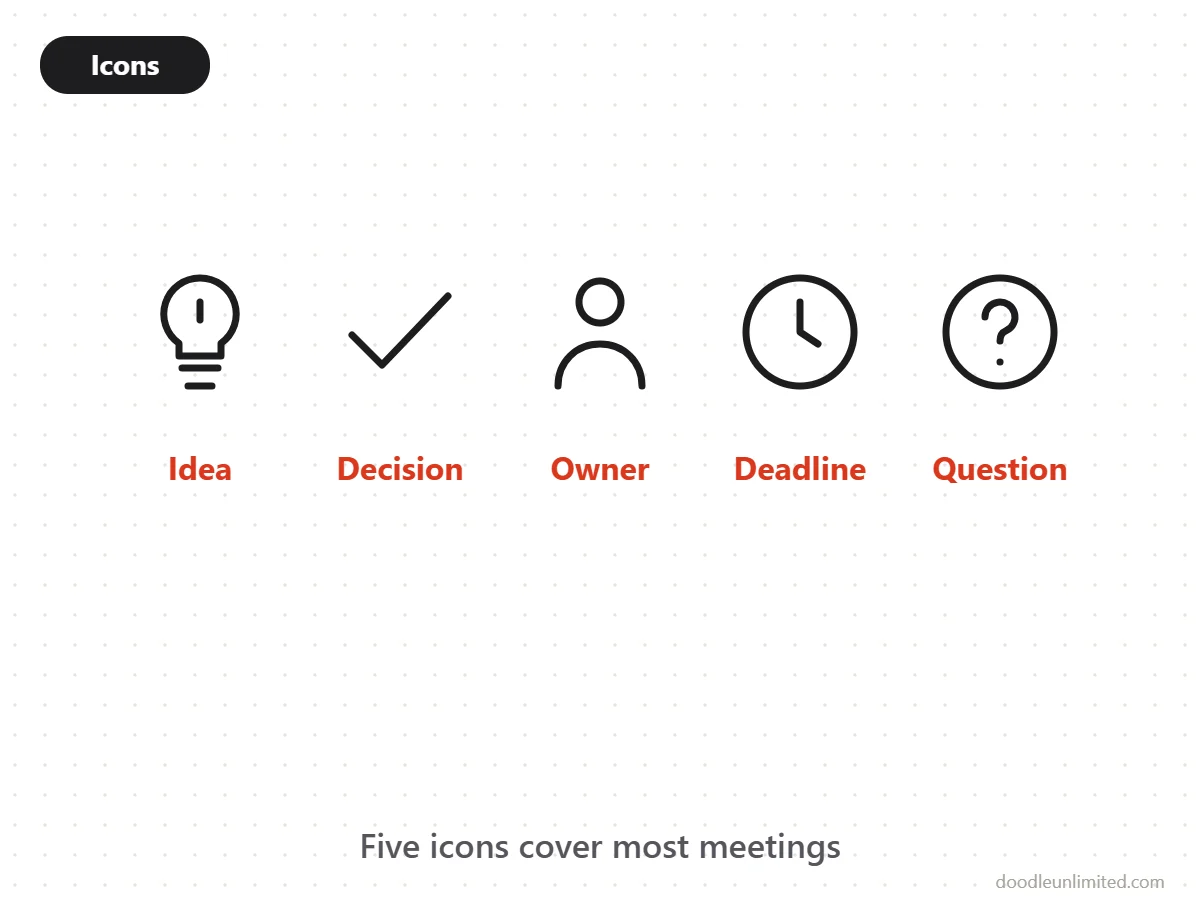
Use a tiny icon set
Five icons cover most meetings: a lightbulb (idea), a check (decision), a person (owner), a clock (deadline) and a question mark (open question). Practise them with the icon library.
Connect with arrows
Arrows show cause and effect faster than words. Draw them roughly and keep going.
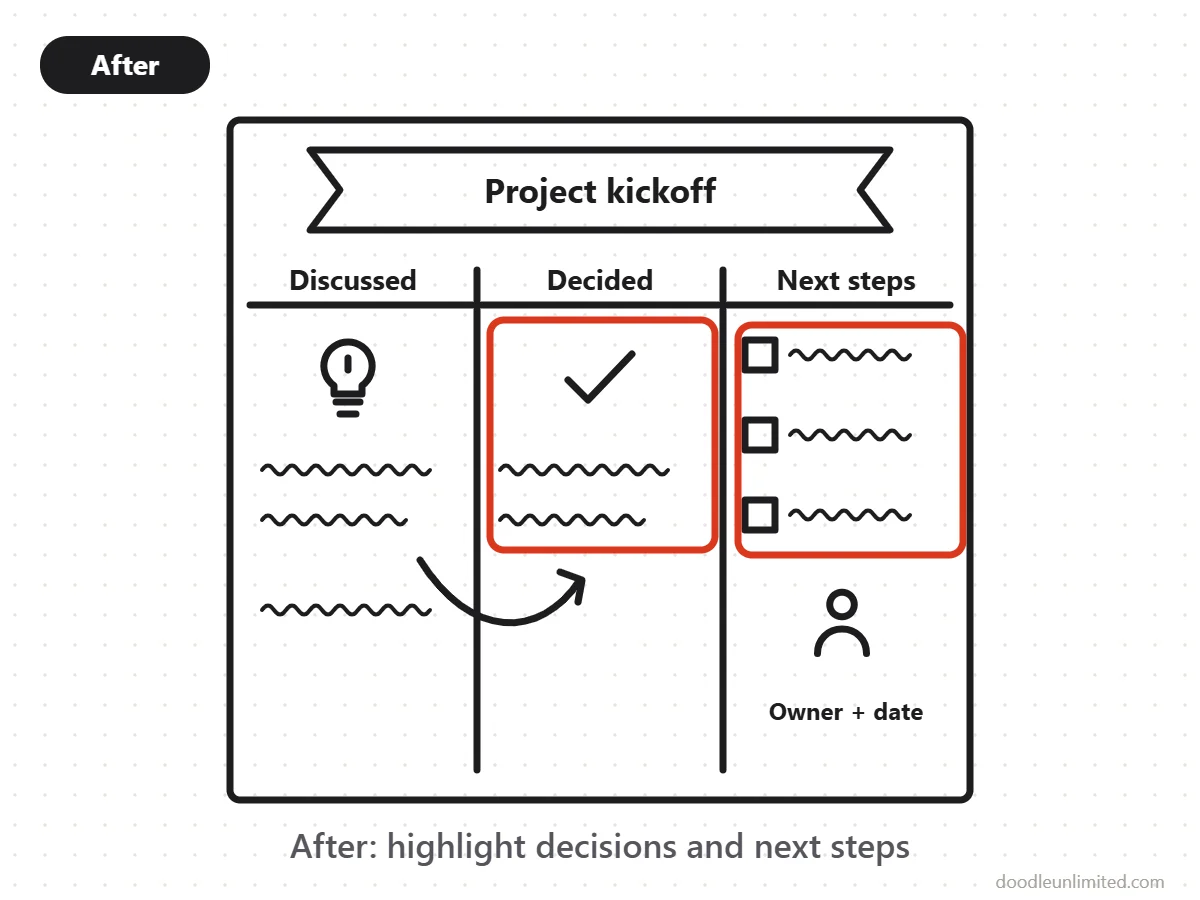
After the meeting: five minutes to finish
- Add shadows or one highlight color to the decisions.
- Write each next step with its owner and date in the right column.
- Photograph the page and share it, or copy the action list into your task tool.
Common problems
- “I can’t keep up.” Capture only decisions and actions; skip the discussion column.
- “My notes look messy.” That’s fine during the meeting. The five-minute tidy-up is where it becomes readable.
- “Is it OK to doodle in a meeting?” Tell people you’re taking visual notes. Sharing the page afterwards usually answers the question.
Keep going
New to sketchnoting? Start with How to Sketchnote and Sketchnoting for Non-Artists.
FAQ
Do I need to be good at drawing?
No. Boxes, arrows, stick figures and five simple icons are enough. Clarity matters more than looks.
Does this work for online meetings?
Yes. Keep the same layout on paper next to your keyboard, or use a note-taking app with a saved template.
Paper or tablet?
Either. Paper is faster to start; a tablet makes it easier to fix, recolor and share.
About this guide: written by Mubashir Abid for Doodle Unlimited. The step illustrations were drawn as simple diagrams for this guide; try each step with your own pen.