 By Richard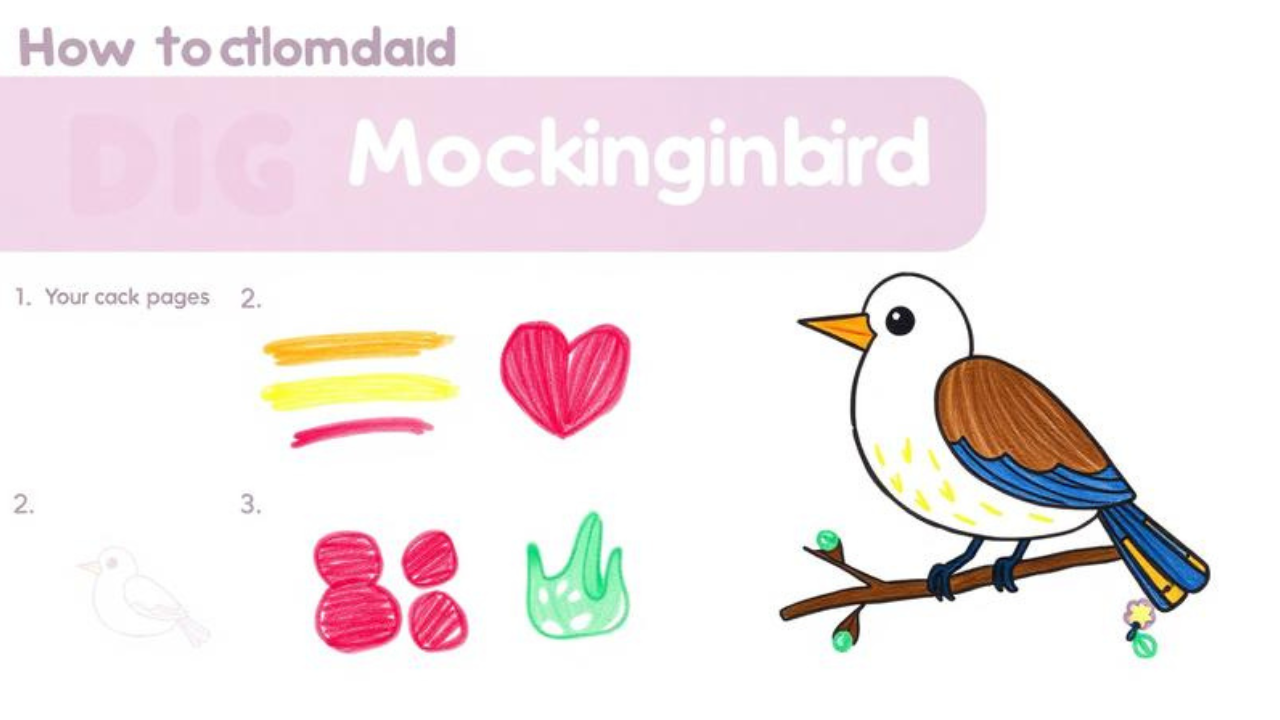
Did you know a single Northern Mockingbird can learn and sing over 200 different songs? You’ve probably even hummed along to the famous mockingbird lyrics from the classic lullaby. Now imagine your child capturing that amazing bird on paper with a mockingbird drawing for kids that’s simple, fun, and frustration-free. In this simple mockingbird drawing for kids guide, you’ll learn a step-by-step method using basic shapes, discover how to avoid common beginner mistakes, and pick up expert tips to keep young artists engaged. By the end, your child will proudly sketch a cheerful mockingbird perched on a branch. Ready to turn a pencil and paper into a masterpiece? Let’s begin.
Table of Contents
-
What Is a Mockingbird Drawing for Kids?
-
Why Does Mockingbird Drawing for Kids Matter?
-
Simple Mockingbird Drawing for Kids: Key Facts & Shapes
-
How to Draw a Mockingbird for Kids Step by Step
-
Common Mistakes When Drawing Mockingbirds for Kids
-
Expert Tips for a Fun Mockingbird Drawing for Kids
-
Frequently Asked Questions
-
Conclusion
What Is a Mockingbird Drawing for Kids?
Think of a mockingbird drawing for kids as a friendly, simplified version of the real bird. Instead of worrying about every feather, your young artist starts with three simple shapes: an oval for the body, a circle for the head, and a long triangle for the tail. This approach breaks down a seemingly complex subject into chunks any child can master. It’s just like stacking blocks to build a toy animal—only on paper.
For instance, if your child can draw a potato shape and a small ball, they can already tackle the body and head. Add a stretched-out triangle for the tail and a tiny triangle for the beak, and suddenly a bird appears. The goal isn’t a hyper-realistic illustration; it’s a recognizable, joyful mockingbird that boosts your child’s confidence. Once they nail the mockingbird drawing for kids easy shape recipe, they’ll want to draw it again and again, maybe even adding their own backgrounds and colors.
Why Does Mockingbird Drawing for Kids Matter?
Learning to draw a mockingbird isn’t just a cute art project—it actively builds skills that help kids in school and beyond.
-
Builds shape recognition skills. Children learn to spot ovals, circles, and triangles everywhere, a foundation for early math and reading.
-
Develops fine motor coordination. Controlled pencil strokes strengthen the hand muscles needed for clear handwriting.
-
Encourages patience and focus. Following simple steps keeps kids engaged and teaches them to see a task through to completion.
-
Connects art to nature. Drawing a real bird sparks curiosity about wildlife, bird songs, and the outdoors.
-
Creates a success mindset. Completing a recognizable drawing gives an instant confidence boost that spills over into other challenges.
-
Offers screen-free fun. A perfect quiet-time activity that doesn’t involve a tablet or TV.
According to a 2022 study published in the International Journal of Art & Design Education, guided drawing exercises improved shape recognition and pencil control in children ages 5–10 by up to 30% after just four sessions.
Simple Mockingbird Drawing for Kids: Key Facts & Shapes
Before putting pencil to paper, it helps to know a few key features that make a mockingbird look like a mockingbird. Use these shape shortcuts to guide your child.
The Body: A Plump Oval
Draw a horizontal oval, slightly tilted. Imagine a potato or a bean lying on its side. This makes the main body section.
The Head: A Friendly Circle
Place a circle that overlaps the top front of the body oval. Keep it smaller than the body—about the size of a large coin. This connects easily and looks natural.
The Tail: A Long, Skinny Triangle
Mockingbirds are famous for their very long tails. Draw a triangle that extends from the back lower part of the body, pointing slightly down. Make it as long as the body itself, or even a little longer.
The Beak and Eye Stripe: Tiny Details with Big Impact
Add a small triangle for the beak, pointing outward. Then draw a thin dark line that runs from the base of the beak straight through the eye area. That dark eye stripe is the mockingbird’s superhero mask—never skip it!
| Basic Shape | Represents | Handy Kid Tip |
|---|---|---|
| Plump oval | Body | Draw a sideways potato. |
| Small circle | Head | Trace around a bottle cap. |
| Long triangle | Tail | Make it like a kite tail, very long. |
| Tiny triangle | Beak | Imagine a little pizza slice. |
| Dot + curved band | Eye and eye stripe | A dot inside a sideways banana. |
A simple mockingbird drawing for kids also benefits from knowing the bird’s actual colors: soft gray above, pale white below, and a white patch on the wings. Children can shade or color these areas once the outline is done.
How to Draw a Mockingbird for Kids Step by Step
Follow this mockingbird drawing for kids step by step sequence. Each step builds on the last, so keep it fun and lighthearted.
1. Draw the perch line and the body oval.
Lightly draw a horizontal line for a branch. Then sketch a plump oval sitting on that line—this is the bird’s body. Don’t worry about perfect shape; a soft potato shape works beautifully.
2. Add the head circle.
At the top left (or right) end of the oval, draw a smaller circle that overlaps the body slightly. This creates the neck connection. Leave enough space inside the head for the eye later.
3. Draw the long tail and the tiny beak.
From the back lower part of the body, draw a long, narrow triangle that slopes downward. Make it nearly as long as the body. On the front of the head circle, add a small triangle pointing outward for the beak.
4. Sketch the wing line and belly curve.
Draw a curved line that arches from the middle of the body back toward the tail base to separate the wing from the breast. Then gently round out the lower oval to define the belly. The wing should feel like a smooth hill.
5. Add the eye, eye stripe, and legs.
Inside the head, draw a small circle for the eye. Run a slightly curved line from the beak base through the eye toward the back of the head—this is the dark eye stripe. Below the body, add two thin, bent lines for legs with tiny toes gripping the perch.
6. Color or shade your mockingbird.
Color the upper body and wing light gray, leaving a thin white stripe across the wing. Keep the belly mostly white. Shade the tail darker, and color the eye stripe dark gray or black. A bright green branch adds the perfect finish. Your mockingbird drawing for kids is complete!
Common Mistakes When Drawing Mockingbirds for Kids
Even simple drawings can trip up beginners. Watch out for these common snags.
Mistake: Drawing the tail too short.
A stubby tail makes the bird look like a sparrow, not a mockingbird. Always check that the tail length is about the same as the body length. Draw it longer than you think—you can always erase a little.
Mistake: Making legs look like straight sticks.
Straight, unbent legs look robotic. Mockingbird legs have a slight backward bend at the ankle. Draw a tiny angle halfway down each leg, then taper to the feet.
Mistake: Forgetting the dark eye stripe.
Without the eye stripe, your drawing loses the mockingbird’s signature look. Remind your child that this stripe is as important as a superhero’s mask—always include it.
Mistake: Coloring the whole bird the same dark shade.
Mockingbirds have a pale belly and a white wing bar. Leaving those areas light or uncolored instantly adds realism without any extra effort.
Mistake: Pressing too hard with the pencil.
Young artists often press down firmly and then get frustrated when they need to erase. Encourage fairy-light lines first; darken only the winning outlines later.
Expert Tips for a Fun Mockingbird Drawing for Kids
-
Use a real photo for inspiration. Pull up a clear picture from so your child can see the true colors and posture. A side-view works best.
-
Trace as a warm-up. Let kids trace a simple mockingbird outline once to build shape memory; then try freehand. It works wonders for confidence.
-
Add a fun background. Encourage trees, clouds, a nest, or even a song bubble with musical notes to connect back to the mockingbird lyrics they might know.
-
Turn it into a coloring experiment. Try crayon, colored pencil, or watercolor after the pencil sketch. No rules—just playful exploration.
-
Praise effort over exactness. Celebrate that your child tried. If you want to improve any sketch, try a mockingbird drawing easy do-over tomorrow. Progress, not perfection.
Frequently Asked Questions
What is the best age to try a mockingbird drawing for kids?
Kids as young as 5 can succeed when you break the bird into simple shapes. Older children ages 8–12 will add more detail like feather texture and shading. Always match your expectations to your child’s fine motor stage. Even preschoolers can enjoy tracing large oval and triangle cutouts to build the bird together with you.
How do I help my child make a mockingbird drawing for kids realistic without frustration?
Focus on just three realistic touches: a very long tail, a clear white wing bar, and the dark eye stripe. These three details alone will make the drawing recognizable. Skip heavy shading if it causes stress. You can always try a mockingbird drawing for kids realistic approach later when they feel ready.
What if my child draws the tail crooked every time?
A slightly uneven tail adds character! If you want it straighter, have your child place two dots—one at the tail base and one at the tip—then connect them with two lines to form a triangle. Practicing the long tail separately a few times also helps. Remember, even real mockingbirds flick their tails in different positions.
Conclusion
You now have everything you need for a successful mockingbird drawing for kids. Keep the process joyful, use simple shapes as your building blocks, and remember three non-negotiable details: a body-length tail, a white wing bar, and a bold eye stripe. Start today with just the potato-shaped body and circle head—the rest flows naturally from there. What other bird will your little artist want to draw next? Share their ideas (and your finished mockingbirds!) in the comments below.