 By Richard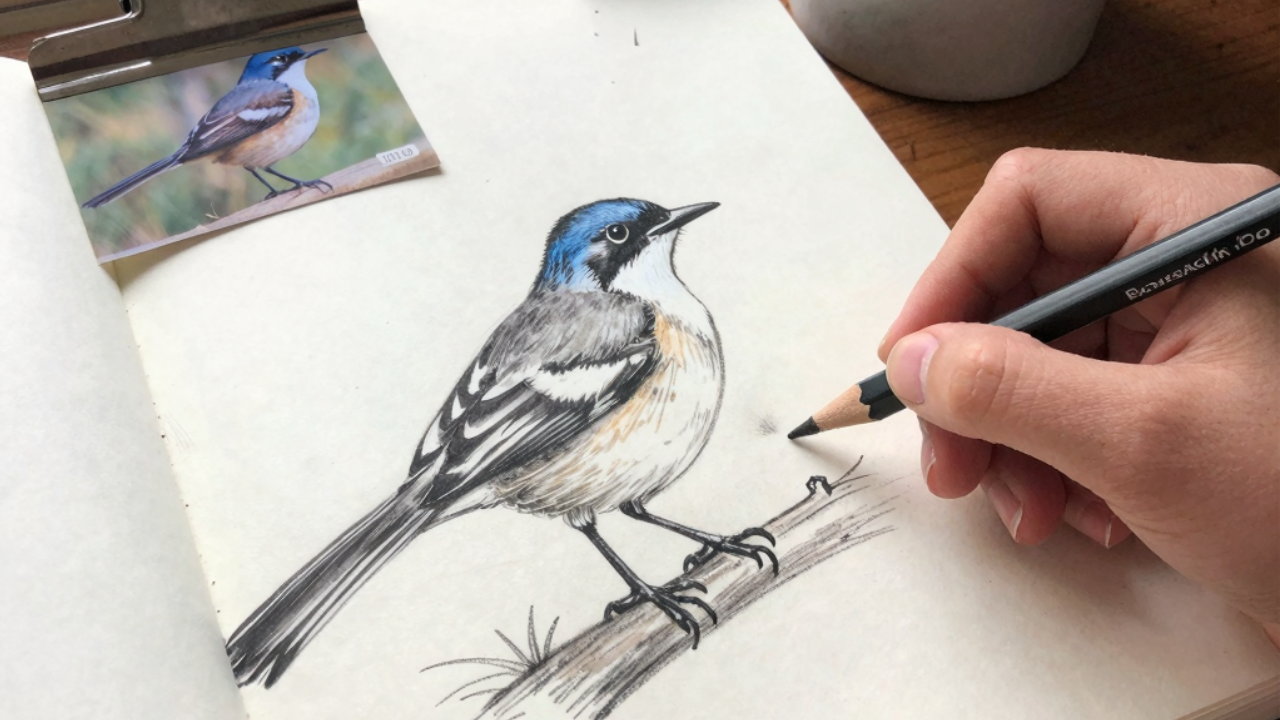
Did you know a single northern mockingbird can learn and repeat over 200 different songs? That vocal genius sits right outside your window, tail flashing, ready to become the subject of your next sketch. A mockingbird drawing might seem intimidating, but you can break this sleek songbird into basic shapes and layered details any art student can control. This guide walks you through mockingbird drawing easy techniques, pencil and outline methods perfect for kids, and realistic color approaches that make your artwork pop. You’ll learn the exact steps to sketch a mockingbird that looks alive on the page, from the first loose gesture to the final feather highlight.
Table of Contents
-
What Is Mockingbird Drawing?
-
Why Mockingbird Drawing Matters for Artists and Students
-
Mockingbird Drawing — Key Types and Styles
-
How to Draw a Mockingbird: Easy Step-by-Step Guide
-
Common Mockingbird Drawing Mistakes to Avoid
-
Expert Tips for Best Mockingbird Drawing Results
-
Mockingbird Drawing FAQs
What Is Mockingbird Drawing?
A mockingbird drawing captures the alert posture, long tail, and crisp markings of Mimus polyglottos, the northern mockingbird. This isn’t just any bird sketch. You’re translating a medium-sized songbird known for its gray-brown back, pale chest, white wing patches, and outer tail feathers into lines, values, or color on paper. Think of it like drawing a winged gymnast—the body stays compact and balanced, while the tail and beak extend with precise length to create an elegant silhouette.
If you’ve ever drawn a robin or a sparrow, you already know the basics of bird art. A mockingbird simply asks you to lengthen the tail, slim the beak slightly, and pay attention to those signature white flashes that appear in flight or display. Whether you work with a mockingbird drawing pencil sketch or a mockingbird drawing color piece, the goal remains the same: communicate the bird’s lively character through accurate shapes and confident lines. Even a mockingbird drawing for kids can achieve this by exaggerating the long tail and round eye, making the species recognizable in just a few strokes.
Why Mockingbird Drawing Matters for Artists and Students
You sharpen real drawing skills every time you observe and render a mockingbird. Here’s how this subject directly benefits your growth as an artist.
-
Builds proportion instincts: The mockingbird’s tail equals almost its full body length. Training your eye to judge this ratio improves all your figure and animal drawings.
-
Teaches texture through feathers: Layering soft chest feathers versus sleek wing feathers introduces pencil control and stroke direction without overwhelming you.
-
Strengthens gesture drawing: Mockingbirds rarely sit still. Quick field sketches force you to capture the energy of a pose in seconds, a core skill for any artist.
-
Deepens nature connection: Drawing from life or high-quality photos increases observation accuracy. According to a study by the National Art Education Association, students who regularly draw wildlife demonstrate a 35% improvement in visual memory and detail recall.
-
Provides a portfolio-ready piece: A well-executed mockingbird drawing realistic in style shows admission panels and clients your ability to handle organic forms.
-
Relieves creative pressure: The bird’s simple color palette—grays, whites, and soft browns—lets you focus on value and form rather than managing a rainbow.
Mockingbird Drawing — Key Types and Styles
Your mockingbird drawing approach changes dramatically depending on the final look you want. Understanding these styles helps you choose the right technique for your sketchbook or class project.
Mockingbird Drawing Easy
This style uses uncomplicated outlines and minimal shading. You draw a rounded body, a long straight tail, a small circle for the head, and a thin triangle for the beak. Add a dot for the eye, and you’re done. A mockingbird drawing easy approach proves you don’t need hours to create a recognizable songbird.
Mockingbird Drawing for Kids
Here, shapes become even friendlier. Think cartoon proportions: a larger head, oversized eye, and a bolder, simplified wing. A mockingbird drawing for kids often includes a musical note near the beak to represent the bird’s singing, and you can use crayons or markers to fill solid gray and white sections.
Mockingbird Drawing Pencil
Graphite rules this method. You work with a range of pencils—HB for outlines, 2B for mid-tones, and 4B to 6B for the eye and deep wing shadows. A mockingbird drawing pencil piece emphasizes smooth gradients, soft feather texture, and realistic value transitions without any color.
Mockingbird Drawing Realistic
This style demands exacting detail: individual feather barbs, the subtle curve of the lower mandible, the catchlight in the eye, and the precise pattern of white wing patches. A mockingbird drawing realistic in approach often uses blending stumps, fine erasers, and multiple reference photos to nail every subtle marking.
Mockingbird Drawing Outline
You create a clean, continuous contour drawing with no internal shading. This mockingbird drawing outline works perfectly for coloring pages, digital vector art, or tattoo design. The key lies in varying line weight—slightly thicker along the wing edge, thinner on the belly.
Mockingbird Drawing Color
Whether you use colored pencils, watercolors, or digital brushes, a mockingbird drawing color piece brings warmth to the bird’s cool gray plumage. You’ll layer pale umber on the back, soft cream on the chest, and stark white on the wing patches, always preserving the crisp contrast that makes this species stand out.
| Mockingbird Drawing Type | Difficulty | Best For | Key Characteristics |
|---|---|---|---|
| Easy | Beginner | Warm-up sketches, journaling | Basic shapes, minimal details, fast |
| For Kids | Beginner | Classroom art, fun projects | Cartoon proportions, bold markers, music note |
| Pencil | Intermediate | Value studies, shaded renderings | Graphite layers, soft textures, no color |
| Realistic | Advanced | Portfolio pieces, competitions | Fine feather detail, accurate anatomy, high contrast |
| Outline | Beginner-Intermediate | Coloring pages, digital art, stencils | Clean contours, varied line weight, no shading |
| Color | Intermediate-Advanced | Finished illustrations, mixed media | Colored pencil or watercolor, accurate gray-white contrast |
How to Draw a Mockingbird: Easy Step-by-Step Guide
Follow these steps to build your mockingbird drawing from simple forms to a polished sketch. Grab a pencil and a blank page.
-
Start with a posture line and basic shapes. Draw a slightly slanted line for the perch, then sketch a small circle for the head and a longer oval for the body, leaving space for the tail. Connect them with a short neck line. This loose framework keeps proportions in check right from the start.
-
Add the beak, eye, and head details. From the front of the head circle, extend a straight, slender triangle—the mockingbird’s beak. Place a round eye slightly behind the beak base, and add a faint dark line through the eye area. The eye should sit near the top of the head shape.
-
Block in the tail and wing position. Draw a long, narrow rectangle or two parallel lines extending well beyond the body length. The tail must reach about one body length back. For the wing, sketch a teardrop shape resting along the side of the body, tapering toward the tail.
-
Shape the legs and feet. Add two thin lines descending from the lower body to grip the perch. Mockingbird legs are slender but strong, and the toes wrap around the branch. Keep the feet simple—three toes forward, one back—and skip individual scales until later.
-
Refine the feather groups. Use soft, overlapping arcs to define the wing feathers, chest, and long tail feathers. Don’t draw every individual feather yet. Instead, block the major sections: primary flight feathers, coverts, and the smooth breast.
-
Add shading, wing patches, and final details. Darken the eye, leaving a tiny white catchlight. Shade the wing and tail feathers with light, directional pencil strokes, and mark the white wing patches by leaving those areas mostly unshaded. Deepen the beak and eye line, then use a kneaded eraser to lift a few feather highlights.
For more foundational techniques, explore our [ how to draw birds for beginners] guide before adding detail.
Common Mockingbird Drawing Mistakes to Avoid
Spotting these errors early saves your mockingbird drawing from looking stiff or inaccurate.
-
Cutting the tail too short. A stubby tail destroys the mockingbird silhouette. The tail should equal the head-to-body length. Always check this proportion before adding details.
-
Placing the eye too low. The mockingbird’s eye sits relatively high on the head, close to the crown. A low eye makes the bird look unnatural and sad. Draw a guideline across the head’s midline to set the eye level correctly.
-
Forgetting the white wing patches. These flashes of white define the species. Even in a pencil sketch, leave those rectangular patches nearly white or outline them clearly.
-
Drawing a bulky, heavy chest. Mockingbirds are slender. A body shape that’s too round makes your bird look like a pigeon. Keep the chest gently curved but streamlined.
-
Stiff, symmetrical legs. A real mockingbird adjusts its grip constantly. Slightly offset the legs and vary the toe angles to inject life into the pose.
Expert Tips for Best Mockingbird Drawing Results
-
Use live reference videos. A mockingbird’s tail flicks constantly. Watching short clips on your phone teaches you the natural posture and movement better than any static photo.
-
Master the silhouette first. Fill a sketchbook page with ten quick thumbnail silhouettes. If the shape reads instantly as a mockingbird, your proportions are correct.
-
Layer graphite with the feather growth. Always stroke your pencil in the direction the feathers lie—down and outward from the wing joint—for immediate realistic texture.
-
Protect the white patches. Plan where the wing patches and tail edges stay bright, and shade around them rather than relying on an eraser to create them later.
-
Soften the belly shading. Use a blending stump on the lower chest to create a smooth, rounded form that contrasts with the crisp wing feathers.
Mockingbird Drawing FAQs
How do you draw a mockingbird easy for kids?
Start with a large oval for the body and a circle for the head, connected by a short neck. Add a long, straight tail, a small triangle beak, and a big, friendly eye. Show the wing as a simple curve, and outline two white patches on the wing. Finally, draw a music note near the beak to highlight the bird’s singing. A mockingbird drawing for kids works best with bold markers and solid colors.
What is the best pencil for mockingbird drawing?
For a mockingbird drawing pencil study, use an HB pencil for the initial outline and light under-drawing. Switch to a 2B for mid-tone feather shading and a 4B or 6B for the pupil, the deepest wing shadows, and the thin eye line. Keep a sharp point on a harder pencil to render fine feather barbs, and use a soft pencil’s side for broad mid-tones on the back.
How can I make my mockingbird drawing look realistic?
Focus on three aspects: proportion, value contrast, and the white wing patch. Ensure the tail measures roughly the same length as the head and body. Create strong contrast by darkening the eye and wing shadows while leaving the chest and wing patches bright. Use reference photos to position the white patch exactly where the folded wing shows it. A mockingbird drawing realistic in finish never blurs the sharp edges of those white markings.
Conclusion
You now have a complete path from a mockingbird drawing easy outline to a lifelike, shaded songbird. Remember to check your tail length, nail the white wing patches, and start every sketch with loose, confident shapes. Whether you’re working on a quick pencil study or a full-color illustration, these techniques will elevate your bird art immediately. Grab your sketchbook, find a mockingbird photo or step outside, and start your first drawing today.
Which mockingbird moment inspires you more—a full-throated song on a fence post or that flash of white wings as it takes flight? Tell us in the comments.