
 By Richard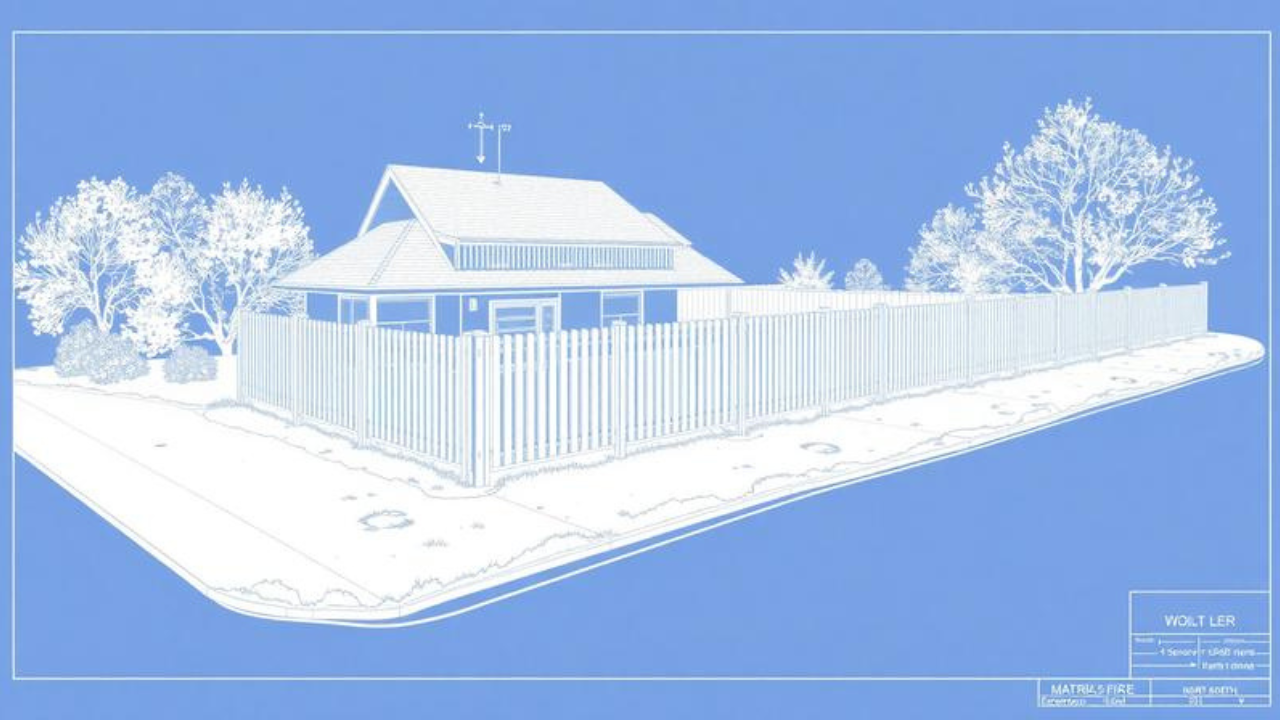
INTRODUCTION
Ask ten architects how to draw a fence on a site plan, and you might get ten different answers. That’s not an exaggeration—fence drawing remains one of the most inconsistent elements in architectural drafting, despite being one of the most visible features of any completed project. A fence isn’t just a line on paper; it’s a boundary that defines space, provides security, and shapes the entire experience of a property. Yet too often, it’s treated as an afterthought—a single, generic line slapped onto the drawing at the last minute.
This guide changes that. Whether you’re a junior architect preparing your first site plan, a seasoned designer looking to standardize your fence drawing approach, or a drafting professional seeking to refine your technical skills, you’ll find everything you need here.
In the following sections, we’ll walk through the definition and purpose of fence drawing in architecture, trace its historical evolution from hand-drawn plans to digital CAD workflows, break down the major types of fence drawings you’ll encounter, and give you a step-by-step process for creating drawings that are both technically accurate and visually compelling. You’ll also learn to distinguish fact from fiction when it comes to drafting standards, discover expert tips that separate good drawings from great ones, and get answers to the most frequently asked questions about fence drawing.
By the end, you’ll have a complete framework for approaching fence drawing with confidence, precision, and professional polish. Let’s get started.
TABLE OF CONTENTS
-
What Is Fence Drawing in Architecture?
-
The History and Evolution of Fence Drawing
-
Key Types of Fence Drawings Every Architect Should Know
-
Why Fence Drawing Matters in Architectural Practice
-
How to Create a Professional Fence Drawing — Step by Step
-
Common Myths vs Facts About Fence Drawing
-
Expert Tips and Best Practices for Fence Drawing
-
Frequently Asked Questions About Fence Drawing
-
Final Verdict: Making Fence Drawing a Priority
What Is Fence Drawing in Architecture?
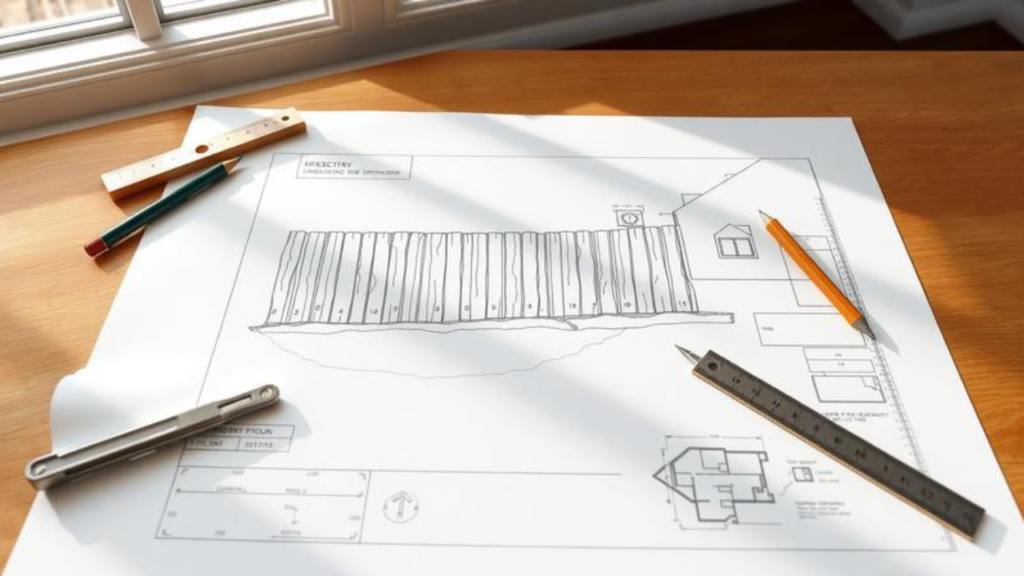
Fence drawing in architecture refers to the technical representation of fencing structures within architectural plans, site plans, landscape drawings, and construction documentation. At its core, a fence drawing translates a three-dimensional physical structure into a two-dimensional graphic language that can be understood by clients, contractors, engineers, and permitting authorities.
Unlike structural walls or load-bearing elements, fences are site elements rather than structural components of a building. This distinction fundamentally shapes how they appear on drawings. Interior floor plans typically focus on walls, doors, and spatial layouts—fences exist outside the building envelope and are often simplified or omitted entirely in these drawings. Site plans, however, prioritize land use, circulation, and property edges, which is where fences become critical visual elements.
A professional fence drawing typically includes several key components:
-
Plan views showing the fence’s location and path from above
-
Elevation views displaying what the fence looks like from the side
-
Section drawings revealing how components fit together
-
Detail drawings zooming in on specific connections or features
-
Dimension annotations specifying heights, lengths, and spacing
-
Material callouts identifying wood, metal, chain link, or other materials
The graphic conventions for fence drawing follow established drafting standards. Most fence symbols rely on repeating patterns or dashed lines rather than solid outlines. Common representations include parallel thin lines for generic boundary fences, dashed lines with small ticks for chain-link fencing, zigzag or cross patterns for wood privacy fences, and lines with small circles to represent fence posts.
WOOD PRIVACY FENCE
Architects typically add labels to eliminate any ambiguity—annotations like “6′ WOOD PRIVACY FENCE,” “4′ METAL PICKET FENCE,” or “EXISTING CHAIN LINK FENCE” provide critical information that the graphic alone cannot convey. These labels specify material, height, and construction method, ensuring everyone reading the drawing has the same understanding.
The American Institute of Architects (AIA) drafting guidelines emphasize that site elements like fences should use lighter line weights than load-bearing structures, maintaining a clear visual hierarchy that makes drawings readable and professional. This principle is fundamental to good fence drawing practice—your fence should be visible and clear, but it should never compete visually with the building itself.
The History and Evolution of Fence Drawing
The practice of fence drawing has evolved dramatically over the centuries, mirroring the broader development of architectural documentation. Understanding this history helps appreciate why certain conventions exist and how digital tools have transformed the discipline.
Pre-Industrial Era (Before 1800)
Before the nineteenth century, few working drawings survive, and those that do rarely include detailed fence specifications. Fences were typically constructed by master craftsmen who worked from oral instructions or simple sketches rather than formal architectural drawings. The boundary of a property was understood through on-site markers and local knowledge rather than paper documentation.
The Nineteenth Century Transformation
The nineteenth century brought a revolution in architectural practice. As architecture professionalized and building projects grew more complex, the demand for comprehensive working drawings increased dramatically. Architects began producing voluminous and elegant working drawings that included detailed representations of site elements, including fences.
This period saw the emergence of the architectural drawing as a visual language—a standardized system for expressing ideas and relaying information. Fence drawing became part of this language, with architects developing conventions for showing different fence types, materials, and construction details. The Gove and Walsh Architectural Drawing collection (1888-1926) includes detailed drawings showing elevations and sections of fence construction, demonstrating that fence drawing was already a established practice by the late nineteenth century.
The Early Twentieth Century
The 1920s and 1930s represent a golden age of landscape and fence drawing. Collections from this era contain hundreds of architectural drawings including detailed plans of fences, garden paths, outbuildings, and gates. These drawings were done primarily for wealthy clients in New York, New Jersey, Connecticut, and Pennsylvania, reflecting the growing importance of landscape architecture and the integration of fencing into comprehensive property design.
During this period, fence drawing became more standardized. Architects developed consistent methods for representing different fence types, and the profession began codifying these conventions in reference works. Architectural Graphic Standards, first published in 1932 and often called the “Architect’s Bible,” became the definitive reference for drafting conventions, including fence representation.
The CAD Revolution (1980s-Present)
The introduction of Computer-Aided Design (CAD) in the 1980s fundamentally changed fence drawing. What once required hours of manual drafting could now be accomplished in minutes. CAD software introduced precision, consistency, and the ability to easily modify and replicate drawings.
The CAD era also brought new challenges. With the ease of copying and pasting, some architects began treating fence drawing as an afterthought—inserting a generic fence line without considering site-specific conditions. This trend prompted a counter-movement emphasizing the importance of integrated fence design.
The Modern Era: BIM and Beyond
Today, Building Information Modeling (BIM) represents the cutting edge of fence drawing. BIM platforms like Revit and ArchiCAD allow architects to create intelligent 3D models where fences are not just lines on paper but data-rich objects with properties like height, material, cost, and installation specifications.
The fence design software market reflects this evolution, with projected growth from $379 million in 2025 to $818 million by 2032—a compound annual growth rate of 11.6%. This growth signals increasing recognition of fence drawing as a specialized discipline requiring dedicated tools and expertise.
The history of fence drawing is ultimately a story of increasing precision, standardization, and integration. What began as informal sketches has evolved into a professional discipline with established conventions, dedicated software, and recognized best practices.
Key Types of Fence Drawings Every Architect Should Know
Understanding the different types of fence drawings is essential for producing complete and effective documentation. Each type serves a specific purpose and provides different information to different audiences. Here are the major categories you’ll encounter.
Fence Elevation Drawings
Fence elevation drawings are the most common type of fence drawing. Also known as “side views,” these drawings show what the fence looks like when viewed from the side—the view you’d see if you were standing next to the fence and looking at it directly.
Elevation drawings are designed to show clients and contractors what the finished fence will look like from a distance. They display the fence’s height, the spacing and appearance of posts and panels, the style of any gates, and the relationship between different sections of fencing. Elevation drawings are essential for bid packages, change orders, and as-built documentation.
Key elements to include in a fence elevation drawing:
-
Overall height from grade to top of fence
-
Post spacing and dimensions
-
Panel or slat configuration
-
Gate locations and sizes
-
Material indications through hatching or notation
-
Grade line showing ground contact
Fence Plan Drawings
Fence plan drawings—also called fence layout drawings—show the fence as viewed from above, as though you had a camera positioned directly overhead. These drawings are essential for understanding where the fence will be located on the property and how it relates to buildings, driveways, trees, and other site features.
Plan drawings are particularly important for complex fence projects involving multiple gates, irregular lot shapes, or challenging terrain. They show the exact path of the fence, the location of terminal posts, gate placements, and any obstacles the fence must navigate around.
When creating a fence plan drawing, pay special attention to:
-
Property lines and boundary setbacks
-
Existing structures and features
-
Gate locations and swing directions
-
Changes in fence direction or height
-
Utility locations that may affect post placement
Fence Detail Drawings
Fence detail drawings are “zoomed-in” drawings designed to show specific aspects of the fence in greater detail. While some people use “detail” to refer to any drawing, true detail drawings focus on particular connections, components, or construction methods.
Common fence detail drawings include:
-
Post-to-ground connections (footing details)
-
Post-to-rail connections
-
Gate hinge and latch details
-
Corner post configurations
-
Step-down details where fence height changes
-
Top cap or finial installations
Detail drawings often reference other drawings in the set, helping readers understand where the detail applies in relation to the overall project.
Fence Section Drawings
Section drawings show the fence as though it has been sliced through—like cutting the end off the fence or gate to see how everything fits together from the side of that slice. Section drawings are invaluable for illustrating construction methods, fixing techniques, and internal connections that aren’t visible in elevation views.
Sections typically show:
-
The relationship between posts and panels
-
Connection details between components
-
Material thickness and dimensions
-
How the fence interfaces with the ground
-
Assembly sequences
As-Built Fence Drawings
As-built drawings are completed after the fence is installed, documenting the fence as it was actually built. These drawings are critical for maintenance, future modifications, and legal documentation. Unlike design drawings submitted at the project’s start, as-built drawings reflect any changes made during construction.
As-built drawings typically include:
-
Actual dimensions (not just design dimensions)
-
Location of all posts and gates as installed
-
Any deviations from the original design
-
Material specifications for the installed fence
-
Dates of installation and any modifications
Shop Drawings for Fences
Shop drawings are detailed fabrication drawings produced by manufacturers or fabricators. These drawings show exactly how the fence components will be manufactured and assembled. While architectural drawings show the design intent, shop drawings translate that intent into production specifications.
Each type of fence drawing serves a different audience and purpose. A complete fence drawing set typically includes multiple types, providing different stakeholders—clients, contractors, fabricators, and permitting authorities—with the information they need.
Why Fence Drawing Matters in Architectural Practice
Fence drawing might seem like a minor detail in the broader context of architectural design, but its importance cannot be overstated. Here’s why getting fence drawing right matters.
Fences Shape the User Experience
A fence does far more than mark a property line—it defines outdoor rooms. The space between the house and the fence becomes a courtyard, a side garden, a service yard, or an entry forecourt depending on how it’s shaped and enclosed. This transforms the fence from a mere boundary into a tool for shaping human experience.
When architects treat fence drawing as an afterthought, they miss opportunities to create meaningful outdoor spaces. A low fence with planting can make a front garden feel generous and connected to the street. A taller, more enclosing treatment can turn a side passage into a private green corridor. These design decisions must be made during the drawing phase, not left to improvisation on site.
Fences Impact Property Value
The boundary is one of the most visible elements of any residential project, yet it is routinely treated as a postscript rather than part of the design. This oversight affects property value. A well-designed, well-drawn fence signals quality and attention to detail throughout the project. A poorly conceived fence—or worse, no fence drawing at all—suggests the opposite.
Fence Drawing Prevents Costly Mistakes
When fencing is integrated into the architectural plan from the outset, the result is a more coherent, more functional, and ultimately more valuable project. Conversely, when fence decisions are deferred to the construction phase, the results are predictable: budget overruns, scheduling delays, and compromised design quality.
A thorough fence drawing identifies potential issues before construction begins:
-
Property line conflicts
-
Utility conflicts
-
Grading and drainage challenges
-
Sightline and safety concerns
-
Compliance with local regulations
Fence Drawing Ensures Regulatory Compliance
Compliance surprises are one of the fastest ways to derail a project. Pool fencing regulations, front fence height limits, sightline requirements at driveways, bushfire construction standards, and local council planning controls all place specific demands on fence design. These requirements must be addressed in the drawings, not discovered during inspection.
Fence Drawing Facilitates Material Coordination
When the fence picks up a material, color, or line from the house, the whole property reads as a single composition. A horizontal batten screen that echoes the cladding, a powder-coated steel that matches the window frames, or a rendered base that continues a wall finish all create visual links that tie the project together.
This coordination doesn’t mean the fence must match the house exactly. Often, the most successful designs use complementary rather than identical materials, allowing the boundary its own character while keeping it in the same family. The key is intention. Coordinated material choices look deliberate. Random ones look like the budget ran out.
Fence Drawing Supports Professional Communication
A clear, professional fence drawing communicates your design intent to everyone involved in the project. Clients see what they’re getting. Contractors understand what to build. Inspectors know what to check. When fence drawing is done well, everyone is working from the same understanding.
How to Create a Professional Fence Drawing — Step by Step
Creating a professional fence drawing requires a systematic approach. Follow these steps to produce drawings that are accurate, clear, and effective.
Step 1: Gather Site Information
Before you put pen to paper—or cursor to screen—gather all relevant site information:
-
Property survey showing boundary lines
-
Topographic information
-
Existing structures and features
-
Utility locations
-
Local zoning and building regulations
-
Client requirements and preferences
Understanding the site conditions is essential for fence drawing because the fence must respond to conditions that change along its length. The street frontage has different demands from the side boundary shared with a neighbor, which differs again from the rear that might back onto a reserve or a laneway.
Step 2: Establish the Fence Path
The first step in actual fence drawing is establishing the fence’s path on the site plan. This involves:
-
Identifying property boundaries and setback requirements
-
Determining gate locations for access points
-
Routing around obstacles like trees, utilities, or rock outcroppings
-
Adjusting for changes in grade where the fence must step up or down
-
Coordinating with building placement to ensure the fence complements the structure
For irregularly shaped lots, you may need to draw fence segments at specific angles. Most CAD software allows you to adjust angle snaps or manually enter precise angles for each segment. When drawing a curved fence, remember that the chord—the imaginary line between the end points—is restricted to angle snap increments when snaps are enabled.
Step 3: Select the Fence Type and Materials
Based on the site analysis, client requirements, and regulatory constraints, select the appropriate fence type and materials. Your fence drawing should clearly indicate:
-
Fence type: wood privacy, metal picket, chain link, ornamental iron, etc.
-
Material specifications: wood species, metal gauge, finish, color
-
Height: overall height and any variations
-
Post spacing: distance between posts
-
Gate specifications: size, swing direction, hardware
Step 4: Create the Plan View
The plan view shows the fence from above and is the foundation of your fence drawing. In this view:
-
Draw the fence line following the path established in Step 2
-
Indicate post locations at regular intervals and at corners
-
Show gate locations with swing direction arrows
-
Add dimensions for overall length, segment lengths, and post spacing
-
Include north arrow and scale for orientation and measurement
Use appropriate line weights and patterns. Fences should be distinguishable from property lines, which are typically shown as dashed boundaries. The exact symbol depends on your drawing scale, drafting standards, and the level of detail required.
Step 5: Develop Elevation Views
Elevation views show what the fence looks like from the side. For a comprehensive fence drawing:
-
Create elevations for each unique fence section (front, side, rear)
-
Show the fence in elevation with all posts, panels, and gates
-
Include grade lines to show ground contact
-
Add height dimensions for the fence and individual components
-
Apply hatching to indicate materials (wood grain, metal patterns, etc.)
Remember that typical architectural drawings are black and white with no shading. The exception is hatching—a black-and-white pattern used to indicate different materials.
Step 6: Add Detail Drawings
Detail drawings zoom in on specific connections or components. Include details for:
-
Post footings: showing depth, diameter, and reinforcement
-
Post-to-rail connections: showing how rails attach to posts
-
Gate hardware: hinges, latches, and stops
-
Corner posts: showing bracing and reinforcement
-
Transition details: where fence height changes or materials change
Step 7: Add Section Drawings
Section drawings show the fence as though it has been sliced through. Include sections that reveal:
-
How posts are anchored in the ground
-
The relationship between posts and panels
-
Material thickness and construction methods
-
How the fence interfaces with grade changes
Step 8: Label and Annotate
Clear labeling transforms a good fence drawing into a great one. Include:
-
Leader dimensions explaining what different parts and components are
-
Material callouts specifying what each element is made of
-
Construction notes explaining installation requirements
-
Drawing numbers and revision numbers for document control
Good fence drawings ensure that leader dimensions and labels are neat and tidy—all arrowheads the same size, all the same fonts, text starting in the same place. Use the same font throughout, and don’t mix cases.
Step 9: Review and Revise
Before finalizing your fence drawing:
-
Check all dimensions for accuracy
-
Verify compliance with all applicable regulations
-
Confirm coordination with other drawings in the set
-
Review for clarity—can someone unfamiliar with the project understand it?
-
Get feedback from colleagues or clients
Step 10: Format and Present
Present your fence drawing professionally:
-
Include a title block with project information
-
Add a scale (even if the drawing says “NTS” for “Not To Scale”)
-
Number all drawings and revisions properly
-
Ensure crisp, clean lines—heavy enough to be seen but not so heavy they look like marker
-
Maintain correct proportions—if drawings are not in 1:1 scale, the proportions should still look right
Common Myths vs Facts About Fence Drawing
Myth 1: Any line will do for a fence
Fact: Fences must be clearly distinguishable from property lines, retaining walls, and other site elements. Professional fence drawing uses specific symbols and line patterns to communicate fence type, material, and purpose.
Myth 2: Fence drawings don’t need to be detailed
Fact: Insufficient detail in fence drawing leads to improvisation on site, and the results are predictable—compromised design quality, budget overruns, and scheduling delays. Comprehensive fence drawing prevents these problems.
Myth 3: Shading makes fence drawings look better
Fact: Shading is a clear sign that the drawing was done by someone who doesn’t understand architectural-style drawings. Professional fence drawings are black and white with no shading, using hatching patterns instead to indicate materials.
Myth 4: Drawing numbers and revisions aren’t important for fences
Fact: Drawing and revision numbers are an important part of document control for everyone in the construction food chain. Proper numbering helps track different drawings and revisions for your projects.
Myth 5: Fence design can wait until the house is finished
Fact: When fencing is integrated into the architectural plan from the outset, the result is a more coherent, more functional, and ultimately more valuable project. Waiting until the end treats the boundary as a postscript rather than part of the design.
Expert Tips and Best Practices for Fence Drawing
Start with the Site, Not the House
Every good residential design begins with an understanding of the site. Orientation, prevailing winds, views, slope, overlooking neighbors, and street activity all shape how a building should sit on its block. These same factors should shape the boundary.
Map site conditions early so you can specify the right treatment in the right place rather than defaulting to a single repeated panel. A permeable screen on the windward side preserves cooling airflow. A solid section provides shade and acoustic relief where needed.
Think of the Fence as Part of the Spatial Composition
Instead of asking how tall the fence should be, ask what kind of space you’re trying to create and how the boundary helps create it. This shifts the design conversation from technical requirements to spatial experience.
Coordinate Materials with the Building
When the boundary picks up a material, color, or line from the house, the whole property reads as a single composition. This doesn’t mean the fence must match the house exactly—often the most successful designs use complementary rather than identical materials. The key is intention.
Resolve Compliance Early
Few things derail a beautiful boundary design faster than compliance surprises. Address pool fencing regulations, front fence height limits, sightline requirements, bushfire standards, and local planning controls during the drawing phase.
Use Consistent Drafting Standards
Follow established drafting conventions:
-
Use lighter line weights for fences than for structural walls
-
Apply appropriate line patterns for different fence types
-
Label fence types clearly with height and material specifications
-
Maintain uniform fonts and consistent text formatting throughout
Keep Lines Crisp and Clean
Good fence drawings should have crisp, clear lines that are heavy enough to be seen but not so heavy that they look like marker. Lines should be clear enough to see easily but never heavy or look “fuzzy”.
Include Proper Documentation
Every fence drawing should include:
-
A unique drawing number
-
A revision number
-
A scale (even if NTS)
-
A title block with project information
-
Clear labels and leader dimensions
Verify Proportions
If fence drawings are not drawn in 1:1 scale, it’s almost inevitable that they won’t look right on the page. This defeats a big part of why we do fence drawings—when the project is completed, your client will struggle to see the fence you proposed on the drawing in the fence you gave them on site.
Frequently Asked Questions About Fence Drawing
1. What is the difference between a fence drawing and a property line drawing?
A fence drawing shows the actual fence structure—posts, panels, gates, and hardware—with dimensions, materials, and construction details. A property line drawing shows only the legal boundary of the property, typically as a dashed or dotted line. While fence drawings reference property lines to ensure the fence is built in the correct location, the two serve different purposes. Property lines are legal boundaries; fences are physical structures placed within or on those boundaries. A common mistake in fence drawing is confusing the two, which can lead to encroachment issues or incorrect fence placement. Always verify property lines from a licensed survey before beginning your fence drawing.
2. Do I need a professional stamp for fence drawings?
In most jurisdictions, fence drawings rarely require a professional stamp indicating they were created by an architect or engineer. You can prepare the drawings yourself or hire a professional to help you. However, there are exceptions. If the fence is part of a larger structure, if it exceeds certain height limits, or if it’s in a seismic zone, a stamped drawing may be required. Always check local regulations before assuming you don’t need a stamp. Even when a stamp isn’t required, having a professional review your fence drawing can prevent costly mistakes.
3. What software is best for fence drawing?
The best software depends on your needs and budget. AutoCAD remains the industry standard for architectural drafting, including fence drawing. DrawAFence offers a faster, easier way to generate fence and gate drawings specifically. ArchiCAD and Revit provide BIM capabilities for integrated fence design. ArcSite allows you to create accurate drawings from your phone or tablet. For simple projects, even basic CAD software or vector drawing tools can work. The key is choosing software that allows you to produce professional-quality drawings efficiently. Many fence professionals use a combination—CAD for complex projects and specialized fence drawing software for quick turnaround.
4. How detailed should a fence drawing be?
A fence drawing should be detailed enough that someone unfamiliar with the project can understand and build the fence correctly. This typically means including plan views, elevation views, section drawings, and detail drawings as needed. At minimum, your fence drawing should show: the fence location relative to property lines and structures, fence height and post spacing, material specifications, gate locations and sizes, and any special construction details. For complex projects, you may need additional details for corners, transitions, and hardware. The level of detail should match the project’s complexity and the audience’s needs—a simple residential fence needs less detail than a commercial security fence.
5. What are common mistakes in fence drawing?
Common mistakes include:
-
Using the wrong line weight—fences should use lighter lines than structural walls
-
Adding shading—professional fence drawings are black and white with no shading
-
Mixing fonts or cases—good drawings use the same font throughout
-
Leaving out dimensions—every fence drawing should include key measurements
-
Forgetting gate details—gate locations, sizes, and swing directions are essential
-
Not coordinating with other drawings—the fence drawing must align with site plans and building plans
-
Skipping material callouts—specify what each element is made of
-
No drawing numbers or revisions—proper document control is essential
6. How do I show different fence materials in a drawing?
Different fence materials are shown through a combination of symbols, hatching patterns, and labels. Wood fences might use parallel lines or zigzag patterns. Chain-link fences often use dashed lines with small ticks. Metal fences might use thin parallel lines or specific patterns. The most reliable method is to include clear labels, such as “6′ WOOD PRIVACY FENCE” or “4′ METAL PICKET FENCE”. Hatching patterns—black-and-white patterns that indicate different materials—are also used in professional fence drawing. Always include a legend or key explaining what each symbol and pattern represents.
7. Can I draw a fence on an irregularly shaped lot?
Yes. Drawing a fence on an irregularly shaped lot requires adjusting or temporarily disabling angle snaps to allow drawing at any angle. Most CAD software allows you to draw fence segments at specific angles, adjust the angle of a fence within its specification dialog, or temporarily override snap settings. For curved fences, the chord—the imaginary line between end points—is restricted to angle snap increments when snaps are enabled. If you need to draw many off-angle segments, it’s easiest to temporarily turn off angle snaps altogether. Remember to toggle them back on before continuing to draw other elements.
8. What’s the difference between a fence elevation and a fence section?
A fence elevation shows what the fence looks like from the side—the view you would see if you were standing next to the fence and looking at it directly. It displays the fence’s height, post spacing, panel configuration, and overall appearance. A fence section shows the fence as though it has been sliced through—like cutting the end off the fence to see how everything fits together from the side of that slice. Sections reveal internal construction details, connection methods, and material thickness that aren’t visible in elevation views. Both are essential for a complete fence drawing set, serving different audiences and purposes.
9. How do I get my fence drawing approved by local authorities?
Getting your fence drawing approved starts with understanding local requirements before you begin drawing. Research zoning regulations, height limits, setback requirements, and any special restrictions for your area. Include all required information in your drawing—dimensions, materials, heights, and locations relative to property lines. Submit a complete drawing set including plan views, elevation views, and any required details. Follow local formatting and submission guidelines. Be prepared to revise based on feedback. Many authorities provide checklists or guidelines for fence drawing submissions—use them. When in doubt, consult with local planning staff before submitting.
10. Can I use a fence drawing for multiple projects?
While you can reuse elements of a fence drawing, each project has unique site conditions, regulations, and client requirements. A fence drawing from one project may not be appropriate for another. The street frontage has different demands from a side boundary, which differs again from a rear boundary. Site conditions like slope, views, prevailing winds, and neighboring properties all affect fence design. Reusing a fence drawing without considering these factors leads to poor design and potential compliance issues. Instead, use previous drawings as templates or references, but customize each fence drawing for its specific project.
Final Verdict: Making Fence Drawing a Priority
Fence drawing is far more than a technical requirement—it’s an opportunity to shape how people experience a property. A well-drawn fence communicates professionalism, prevents costly construction errors, ensures regulatory compliance, and contributes to a cohesive design that adds value to the entire project.
Yet too often, fence drawing is treated as an afterthought—a single line added at the end of the design process without the attention it deserves. This approach leaves meaningful decisions to be improvised on site by whoever happens to be building the fence. The results are predictable: compromised design quality, budget overruns, and missed opportunities.
The alternative is to treat fence drawing as an integral part of the architectural process. Start with the site, not the house. Map site conditions early and specify the right treatment in the right place. Think of the fence as part of the spatial composition, not just a boundary. Coordinate materials with the building. Resolve compliance early.
When you approach fence drawing this way, the results speak for themselves. The property reads as a single, coherent composition. The fence enhances rather than detracts from the architecture. Clients see the value in the design. Contractors build it correctly the first time. Inspectors approve it without issue.
The tools and techniques for professional fence drawing are well-established. From understanding fence symbols and line conventions to following best practices for clear, concise drawings, the knowledge is available. The question is whether you’ll apply it.
Make fence drawing a priority in your practice. Invest the time to do it right. Your clients, your contractors, and your reputation will thank you.
Call to Action
Now it’s your turn. Have you encountered challenges with fence drawing in your architectural practice? What techniques have you found most effective? Share your experiences and questions in the comments below—your insights could help another architect improve their fence drawing skills.
If you found this guide valuable, please share it with colleagues who might benefit from a deeper understanding of fence drawing. And don’t forget to check out our related articles on [site planning fundamentals] and [architectural drafting standards] for more professional development resources.