Introduction
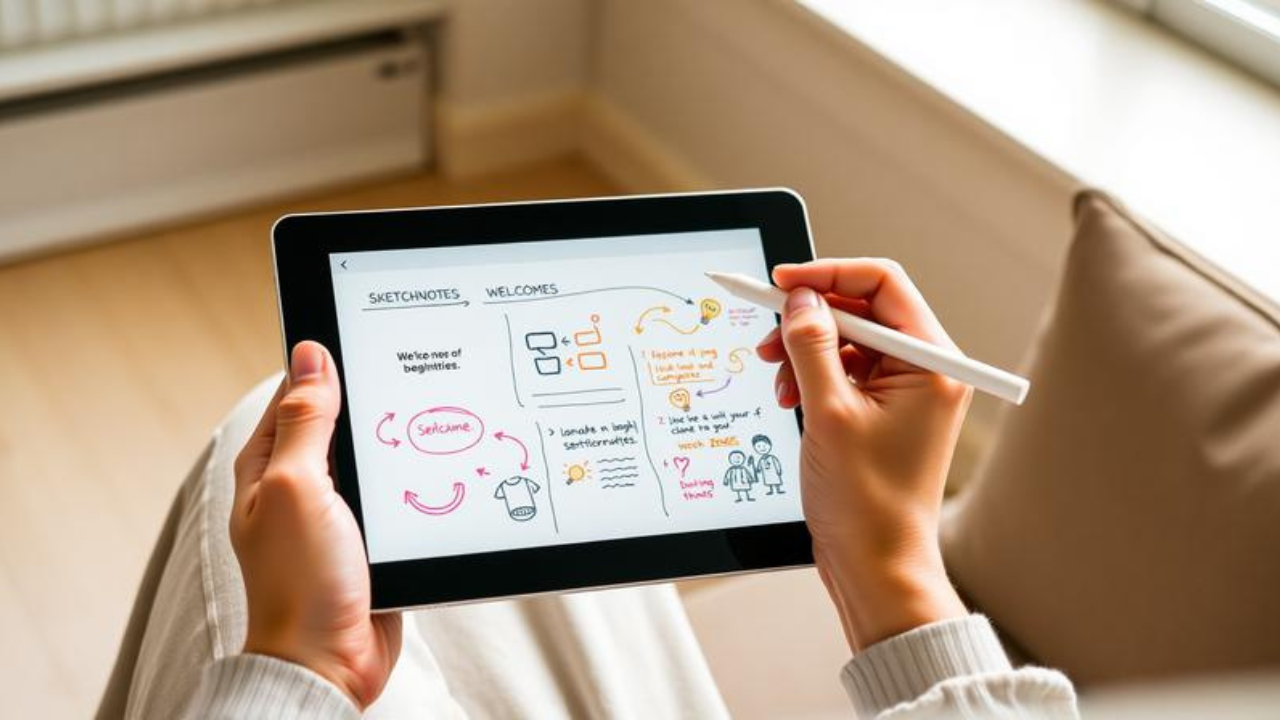
Picture this: It’s 2:17 PM in a crowded lecture hall. Two hundred students are hunched over laptops, fingers flying across keyboards, transcribing every word the professor says. Three rows back, one student sits with an iPad and an Apple Pencil, her screen displaying something entirely different: a colorful, sprawling visual map of the lecture, complete with hand-drawn icons, connecting arrows, playful banners, and bold headings that seem to leap off the digital canvas.
She’s not just taking notes. She’s thinking out loud—visually. And she’s about to remember more of this lecture than almost anyone else in the room.
Here’s the problem most students and professionals face: traditional note-taking is broken. We write down words, forget them, and move on. Research shows that our brains process visual information more quickly than text. Yet most of us still take notes as if we’re living in the pre-digital era.
But what if your notes could actually work for you—engaging your brain, boosting your memory, and even making the process enjoyable?
This guide will show you exactly how to start sketchnoting on your iPad, even if you believe you “can’t draw.” You don’t need artistic talent. u don’t need expensive equipment. You just need curiosity, an iPad, and the willingness to try something different.
Background: Why iPad Sketchnoting Matters Right Now
Sketchnoting isn’t new. Humans have been combining words and pictures to capture ideas for millennia—from cave paintings to Leonardo da Vinci’s notebooks. But the digital revolution has given this ancient practice a powerful upgrade.
The term “sketchnoting” was popularized by designer Mike Rohde in 2006, but the practice has exploded in recent years, thanks in large part to the iPad and Apple Pencil. Today, sketchnoting is used everywhere: in university lecture halls, corporate boardrooms, conference sessions, and classrooms from elementary through graduate level.
The science behind it is compelling. Dual coding theory, developed by psychologist Allan Paivio, shows that our brains process verbal and visual information through separate channels. When you engage both simultaneously—by combining words with images—you create two pathways to the same information. That means two chances to remember it.
As one researcher put it, “It promotes active processing of information, it fosters a useful balance of main ideas and details, it helps students develop more robust knowledge organizations and it aids understanding and recall through dual coding”.
The iPad takes sketchnoting to the next level. Unlike paper, digital sketchnoting offers unlimited undos, infinite canvas, the ability to move elements around, and a library of tools at your fingertips. And with the Apple Pencil’s precision and palm-rejection technology, drawing on an iPad feels remarkably natural.
Your iPad Sketchnoting Toolkit: What You Actually Need
The Hardware
Here’s the good news: you probably already have everything you need.
-
An iPad – Any model that supports the Apple Pencil works. The iPad 9 and iPad 10 are great starting points for students. The iPad Air offers a sweet spot between performance and price, while the iPad Pro is the top-tier option for those who want the absolute best.
-
An Apple Pencil – First-generation, second-generation, or USB-C. All work beautifully.
-
A matte screen protector – This is the one accessory that sketchnoters consistently recommend. A paper-like finish allows you to draw on your iPad as if you’re drawing on paper. Without it, your Apple Pencil will feel like it’s sliding all over the screen.
The Apps: Choosing Your Digital Canvas
The app you choose shapes your entire sketchnoting experience. Here’s a quick comparison:
GoodNotes – The beginner’s best friend. Designed primarily for note-taking, its simplicity is an advantage. “The limitations of the app, such as its lack of layers and advanced brushes, meant I could focus purely on capturing ideas rather than getting distracted by aesthetic choices”. If you’re just getting started, GoodNotes is a great choice because it lets you focus on the content rather than the tools.
Procreate – The creative powerhouse. Offers layers, various brushes, and a wide range of editing tools. However, that flexibility can sometimes slow you down. With so many options, it’s easy to get caught up in perfecting the visuals rather than simply getting the ideas down. One standout feature is Procreate’s video replay, which allows you to create time-lapse videos of your sketches.
Concepts – The vector-based option. Unlike Procreate, Concepts is vector-based, meaning you can resize and move elements without pixelation. One of its best features is the nudge tool, which lets you make small adjustments to strokes instead of redrawing them.
Apple Notes & Freeform – The built-in options. Don’t overlook what’s already on your iPad. Apple Notes supports basic drawing, and Freeform offers an infinite canvas perfect for visual thinking.
Adobe Fresco – A versatile free option that blends raster and vector drawing capabilities.
Beginner’s recommendation: Start with GoodNotes or Apple Notes. Their simplicity will keep you focused on learning the practice of sketchnoting rather than mastering an app. Once you’re comfortable, graduate to Procreate or Concepts.
How to Start Sketchnoting on iPad: A Step-by-Step Tutorial
Step 1: Warm Up with Basic Shapes
Before you dive into your first sketchnote, spend five minutes warming up. Sketchnotes are built on simple forms: lines, dots, circles, triangles, and arrows.
Open your chosen app and practice:
-
Drawing circles, squares, arrows, straight and wavy lines
-
Combining shapes to sketch basic icons—a heart, a light bulb, a beaker
-
Repeating these exercises to build muscle memory
Remember: every complex drawing is just a combination of these basic shapes. Most doodles contain just five basic components: a dot, a line, a triangle, a square, and a circle.
Step 2: Set Up Your Canvas
Open your app and create a new canvas. A good starting size is your screen size or larger. This gives you room to spread out and think.
If you’re using Procreate:
-
Tap the “+” icon to create a new canvas
-
Select “Screen Size”
-
Choose a sketching pencil brush—the HB Pencil in the Sketching set is perfect for beginners
Step 3: Choose Your Topic and Define a Learning Goal
What do you want to learn or capture? Be specific.
For example: “I want to understand the key concepts of [subject]” or “I want to capture the main ideas from this lecture.”
Having a clear goal keeps you focused and prevents you from trying to capture everything.
Step 4: Break the Topic Down into Sections
Think of your canvas as a blank wall where you can arrange ideas spatially.
Start with a main heading in one area. Then identify 3-5 key subtopics and place them in different sections of your canvas. Use boxes, bubbles, or borders to group related concepts.
Step 5: Complement Your Notes with Quick Sketches
This is where the magic happens. For each key point, ask yourself: “What’s a simple visual that represents this idea?”
-
A growing graph for “increase” or “growth”
-
A light bulb for “idea” or “innovation”
-
A brain for “thinking” or “memory”
-
A lock for “security”
-
An arrow for “cause and effect” or “leads to”
Don’t overthink it. Stick figures and basic shapes work perfectly. The goal isn’t to create a masterpiece—it’s to create a meaningful visual representation of ideas.
Step 6: Review and Refine
After you’ve captured the basic ideas, use your app’s selection tools to move things around, adjust spacing, and refine your layout. This is one of the biggest advantages of digital sketchnoting—you can reorganize your thoughts after the fact.
By the end, you’ll have a canvas full of visuals and words that sum up what you’ve learned.
Essential Techniques for Better Sketchnotes
Build Your Personal Icon Library
The more familiar you are with drawing your go-to icons, the easier and faster sketchnoting becomes.
Start with ideas and objects that come up often in your field. Is it possible to turn any of them into simple sketches or visual metaphors?
Keep a dedicated canvas or notebook where you sketch and refine your favorite icons. Practice during your commute, while your lunch heats up, or in the evening while relaxing.
Use Color Intentionally
Color isn’t just decoration—it’s a organizational tool.
-
Blue for definitions
-
Red for warnings or pitfalls
-
Green for examples
This visual approach saves enormous time when reviewing. You’ll remember images instead of dry bullet points.
Add Emotion and Personality
Sketchnotes become more engaging when they include people and emotions. Simple figures with facial expressions bring your notes to life.
A smile, a furrowed brow, raised hands in excitement—these visual cues help you remember not just what was said, but how it felt.
Trace When You Need To
Here’s a secret that professional sketchnoters don’t always tell you: tracing is completely legitimate.
In apps like Procreate or GoodNotes, you can:
-
Import an image or diagram
-
Lower its opacity
-
Create a new layer on top
-
Trace away
This is especially helpful when you need to include complex visuals but don’t have the time or confidence to draw them freehand.
Real-World Success: Students Who Made the Switch
The proof is in the practice. At Clinton High School, students and teachers use sketchnotes and iPads to create and share resources, both in and out of the classroom. The approach helps students “prioritize the most important information when reviewing a topic”.
At South Middle School, educators successfully moved student sketchnoting from paper to digital across a fleet of 233 iPads. Students adopted a “one idea per slide” workflow and grouped slides into organized visual notes.
Research shows that sketchnoting “pushes students to learn, retain information differently” and helps them “think about the material in a new way”. It’s not just about taking prettier notes—it’s about thinking better.
The Nuance: When Sketchnoting Might Not Be the Answer
Let’s be real for a moment. Sketchnoting on iPad is powerful, but it’s not magic. And it’s not for every situation.
When it works best: Live events, conferences, lectures, and any situation where ideas are flowing and you have time to process. Sketchnoting forces you to listen actively and synthesize information in real-time.
When it might not work: Fast-paced technical presentations where every detail matters, or when you’re learning a topic from scratch. In these cases, trying to sketchnote might actually hurt your comprehension because you’re splitting your attention between listening and drawing.
The workaround: If you’re learning something new, focus on listening first. Then replay the content and sketchnote it afterward. This gives you the best of both worlds: deep understanding and beautiful notes.
Also worth noting: sketchnoting takes practice. Maybe at first, you’re writing more than you’re synthesizing—that’s OK! The more you practice, the easier all this will become. Your first few sketchnotes might feel awkward. That’s normal. Every sketchnoter starts somewhere.
Actionable Takeaways
-
Start small. Pick one short video, one article, or one lecture section. Sketchnote it. Don’t worry about perfection—just practice.
-
Warm up first. Spend 5 minutes drawing basic shapes before each sketchnoting session. It’s like stretching before a workout.
-
Build your visual vocabulary. Create personal symbols for recurring concepts. Over time, these become second nature.
-
Choose the right app for you. Start with GoodNotes or Apple Notes for simplicity. Graduate to Procreate or Concepts when you want more creative freedom.
-
Use color intentionally. Assign meaning to colors—blue for definitions, red for warnings, green for examples.
-
Review your sketchnotes. One of the hidden benefits is that your notes are actually inviting to review. Unlike dense pages of text, sketchnotes are visually engaging and easy to scan.
Frequently Asked Questions
1. Do I need to be good at drawing to sketchnote on iPad?
Absolutely not. Sketchnoting relies on simple shapes—dots, lines, circles, triangles, and squares. Stick figures and basic icons are perfectly effective. The goal is meaning, not artistry.
2. Which iPad app is best for beginners?
GoodNotes is widely recommended for beginners because its simplicity lets you focus on content rather than tools. Apple Notes is also a great free option already on your iPad.
3. Do I need an Apple Pencil or can I use my finger?
While you can use your finger, the Apple Pencil offers much better precision and control. If you’re serious about sketchnoting, the Apple Pencil is worth the investment.
4. What’s the best iPad for sketchnoting?
Any iPad that supports Apple Pencil works. The iPad 9 and iPad 10 are great value options, while the iPad Air offers a sweet spot between price and performance.
5. How do I sketchnote during a fast-paced lecture?
Focus on key ideas rather than trying to capture everything. Use abbreviations, symbols, and short phrases. Remember: you’re creating a visual map, not a transcript. With practice, you’ll get faster.
6. Can I trace images in my sketchnotes?
Yes! Tracing is a legitimate technique that many professionals use. Import an image, lower its opacity, create a new layer on top, and trace away.
7. How long does it take to get good at sketchnoting?
Like any skill, sketchnoting takes practice. Don’t expect to create masterpieces on day one. Start with simple exercises, practice regularly, and you’ll see improvement within weeks. Remember: “everyone can draw! Drawing doesn’t HAVE to be photo-realistic depiction!”
Conclusion
Here’s the truth about learning: it’s not about how much information you can cram into your brain. It’s about how well you can make that information mean something. Sketchnoting forces you to do the hard work of translation—turning abstract concepts into concrete visuals, connecting ideas, and building a personal understanding that sticks.
The evidence is mounting. From elementary classrooms to university lecture halls, students who sketchnote show better retention, deeper comprehension, and more positive emotions toward learning. They’re not just taking notes. They’re thinking on the page.
But perhaps the most compelling argument for sketchnoting on iPad is this: your notes should be a tool you want to use, not a chore you dread. When your digital canvas looks like a visual playground of ideas—with arrows pointing to insights, icons representing concepts, and colors highlighting connections—reviewing becomes something you look forward to, not something you force yourself to do.
You don’t need to be an artist. You don’t need expensive supplies. u just need an iPad, a willingness to try, and the understanding that every master sketchnoter started exactly where you are right now.
So open your app. Create that first canvas. Draw a circle, then another, then connect them with a line. Sketch a stick figure, give it a smile, and put a thought bubble above its head.
That’s not just a doodle. That’s the beginning of a smarter way to think.
Now go make some visual magic. Your brain will thank you.